centos7中安装docker
安装准备工作
一、虚拟机准备
1、启动虚拟机

2、客户端连接服务器
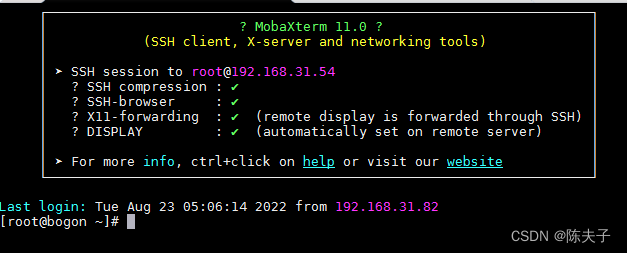
3、 确认服务器环境
cat /etc/os-release
NAME="CentOS Linux"
VERSION="7 (Core)"
ID="centos"
ID_LIKE="rhel fedora"
VERSION_ID="7"
PRETTY_NAME="CentOS Linux 7 (Core)"
ANSI_COLOR="0;31"
CPE_NAME="cpe:/o:centos:centos:7"
HOME_URL="https://www.centos.org/"
BUG_REPORT_URL="https://bugs.centos.org/"
CENTOS_MANTISBT_PROJECT="CentOS-7"
CENTOS_MANTISBT_PROJECT_VERSION="7"
REDHAT_SUPPORT_PRODUCT="centos"
REDHAT_SUPPORT_PRODUCT_VERSION="7"
4、确认网络正常:

二、docker 安装虚拟化检查
modprobe kvm_intel
modprobe: ERROR: Could not insert 'kvm_intel': Operation not supported
发现问题, 解决问题:
关闭虚拟机并进入虚拟机设置,开启虚拟化
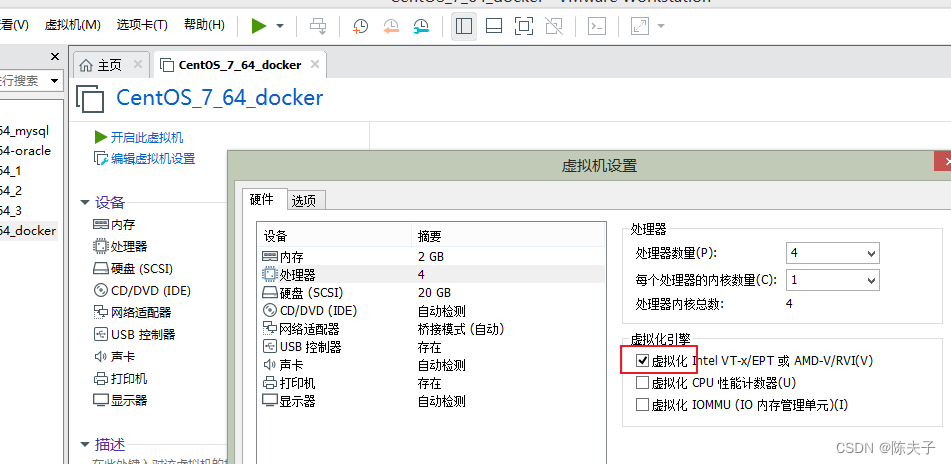
[root@bogon ~]# modprobe kvm_intel
要检查是否启用了 KVM 模块,请运行:
[root@bogon ~]# lsmod | grep kvm
kvm_intel 162153 0
kvm 525259 1 kvm_intel
[root@bogon ~]#
三、开始安装
全文安装参考地址:
https://blog.csdn.net/yangwenxue_admin/article/details/105347451
全文安装 视频参考:
https://www.bilibili.com/video/BV1og4y1q7M4?p=6&spm_id_from=pageDriver&vd_source=2eec61e7ca7c922d393fb65a32bb9486
数据源配置 参考地址:
https://blog.csdn.net/m0_67393619/article/details/126327614
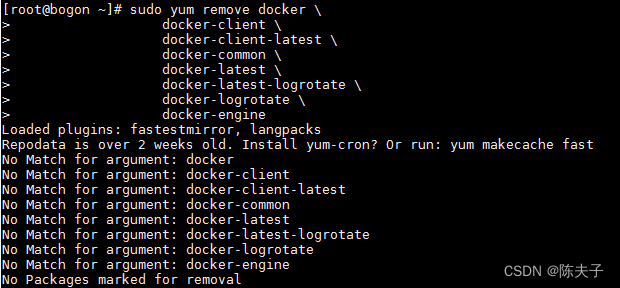
卸载之前的docker版本
命令为:
使用阿里国内源安装docker
yum-config-manager --add-repo http://mirrors.aliyun.com/docker-ce/linux/centos/docker-ce.repo
安装依赖
yum install -y yum-utils device-mapper-persistent-data lvm2
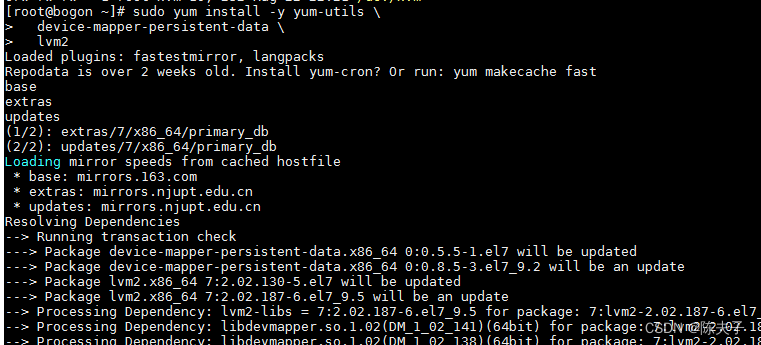

[root@bogon yum.repos.d]# yum install -y yum-utils device-mapper-persistent-data lvm2
...

Package yum-utils-1.1.31-54.el7_8.noarch already installed and latest version
Package device-mapper-persistent-data-0.8.5-3.el7_9.2.x86_64 already installed and latest version
Package 7:lvm2-2.02.187-6.el7_9.5.x86_64 already installed and latest version
nothing to do
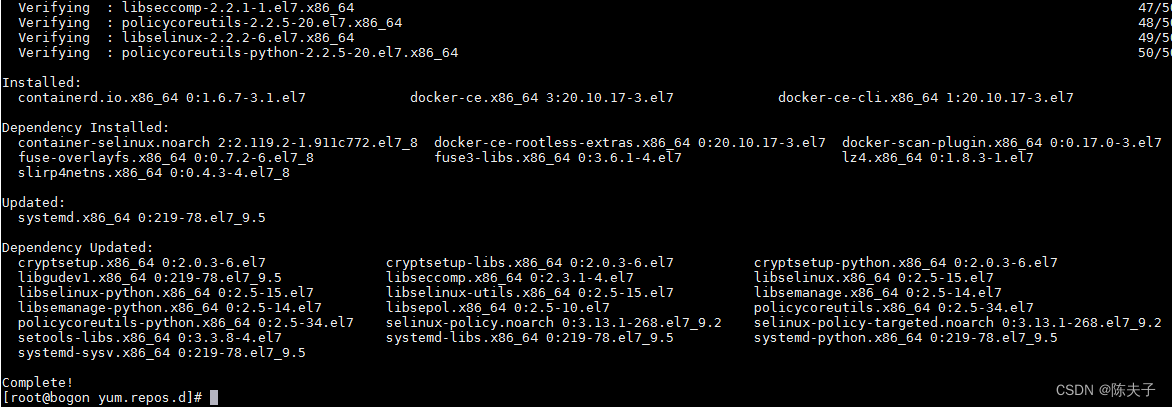
安装docker 核心软件
sudo yum install docker-ce docker-ce-cli containerd.io
[root@bogon yum.repos.d]# sudo yum install docker-ce docker-ce-cli containerd.io
Loaded plugins: fastestmirror, langpacks
docker-ce-stable                                                                                                             | 3.5 kB  00:00:00
Loading mirror speeds from cached hostfile
 * base: mirrors.njupt.edu.cn
 * extras: mirrors.njupt.edu.cn
 * updates: mirrors.njupt.edu.cn
Resolving Dependencies
--> Running transaction check
---> Package containerd.io.x86_64 0:1.6.7-3.1.el7 will be installed
--> Processing Dependency: container-selinux >= 2:2.74 for package: containerd.io-1.6.7-3.1.el7.x86_64
---> Package docker-ce.x86_64 3:20.10.17-3.el7 will be installed
--> Processing Dependency: libseccomp >= 2.3 for package: 3:docker-ce-20.10.17-3.el7.x86_64
--> Processing Dependency: docker-ce-rootless-extras for package: 3:docker-ce-20.10.17-3.el7.x86_64
---> Package docker-ce-cli.x86_64 1:20.10.17-3.el7 will be installed
--> Processing Dependency: docker-scan-plugin(x86-64) for package: 1:docker-ce-cli-20.10.17-3.el7.x86_64
--> Running transaction check
...
安装完成后,尝试启动docker:
[root@bogon ~]# systemctl start docker
Job for docker.service Failed because the control process exited with error code. See "systemctl status docker.service" and "journalctl -xe" for details.
[root@bogon ~]# systemctl status docker.service
● docker.service - Docker Application Container Engine
   Loaded: loaded (/usr/lib/systemd/system/docker.service; disabled; vendor preset: disabled)
   Active: Failed (Result: start-limit) since Tue 2022-08-23 02:28:04 PDT; 46s ago
     Docs: https://docs.docker.com
  Process: 21470 ExecStart=/usr/bin/dockerd -H fd:// --containerd=/run/containerd/containerd.sock (code=exited, status=1/FAILURE)
 Main PID: 21470 (code=exited, status=1/FAILURE)

Aug 23 02:28:01 bogon systemd[1]: Unit docker.service entered Failed state.
Aug 23 02:28:01 bogon systemd[1]: docker.service Failed.
...
[root@bogon ~]# journalctl -xe
Aug 23 02:28:01 bogon dockerd[21470]: Failed to start daemon: Error initializing network controller: Error creating default "bridge" network: Failed
Aug 23 02:28:01 bogon systemd[1]: docker.service: main process exited, code=exited, status=1/FAILURE
Aug 23 02:28:01 bogon systemd[1]: Failed to start Docker Application Container Engine.
Error initializing network controller 问题解决
问题解决最终的有效参考:https://blog.csdn.net/jpiverson/article/details/103180184
发现关键的一句话:
Failed to start daemon: Error initializing network controller: Error creating default “bridge” network: Failed
# 查看
[root@bogon bin]# route -n
Kernel IP routing table
Destination     Gateway         Genmask         Flags Metric Ref    Use Iface
0.0.0.0         192.168.31.1    0.0.0.0         UG    100    0        0 eno16777736
172.17.0.0      0.0.0.0         255.255.0.0     U     0      0        0 docker0
192.168.31.0    0.0.0.0         255.255.255.0   U     100    0        0 eno16777736
192.168.122.0   0.0.0.0         255.255.255.0   U     0      0        0 virbr0

# 给docker 添加一个网段
[root@bogon bin]# ip addr add dev docker0 172.1.0.1/16
[root@bogon bin]# route -n
Kernel IP routing table
Destination     Gateway         Genmask         Flags Metric Ref    Use Iface
0.0.0.0         192.168.31.1    0.0.0.0         UG    100    0        0 eno16777736
172.1.0.0       0.0.0.0         255.255.0.0     U     0      0        0 docker0
172.17.0.0      0.0.0.0         255.255.0.0     U     0      0        0 docker0
192.168.31.0    0.0.0.0         255.255.255.0   U     100    0        0 eno16777736
192.168.122.0   0.0.0.0         255.255.255.0   U     0      0        0 virbr0
# 再次尝试启动,启动成功
[root@bogon bin]# systemctl start docker
[root@bogon bin]# docker -v
Docker version 20.10.17, build 100c701
[root@bogon bin]# docker images
REPOSITORY   TAG       IMAGE ID   CREATED   SIZE
运行hello-world 进行测试。
[root@bogon bin]# docker run hello-world
Unable to find image 'hello-world:latest' locally
latest: Pulling from library/hello-world
2db29710123e: Pull complete
Digest: sha256:7d246653d0511db2a6b2e0436cfd0e52ac8c066000264b3ce63331ac66dca625
Status: Downloaded newer image for hello-world:latest
Hello from Docker!
This message shows that your installation appears to be working correctly.
To generate this message, Docker took the following steps:
The Docker client contacted the Docker daemon.
The Docker daemon pulled the "hello-world" image from the Docker Hub.
(amd64)
The Docker daemon created a new container from that image which runs the
executable that produces the output you are currently reading.
The Docker daemon streamed that output to the Docker client, which sent it
to your terminal.
To try something more ambitIoUs, you can run an Ubuntu container with:
$ docker run -it ubuntu bash
Share images, automate workflows, and more with a free Docker ID:
https://hub.docker.com/
For more examples and ideas, visit:
https://docs.docker.com/get-started/
到这里表示安装基本成功。
再次查看镜像
[root@bogon bin]# docker images
REPOSITORY    TAG       IMAGE ID       CREATED         SIZE
hello-world   latest    feb5d9fea6a5   11 months ago   13.3kB
新增了: hello-world.
结束!