环境要求
1.linux系统

2.Docker

注意:官网Demo有对版本依赖要求做详细的说明,请自行查看。
安装MysqL8+
1.下载MysqL镜像
docker pull MysqL:latest
2.查看镜像

3.运行MysqL
docker run --name MysqL8.0 --restart always -p 3306:3306 -e MysqL_ROOT_PASSWORD=123456 -d MysqL:latest
注意:如果3306端口被占用可以改为其他端口映射,比如:3308:3306
参数说明:
- –name 指定容器名称
- –restart always 容器意外退出后自动重启
- -p 映射主机 3306 端口到容器 3306 端口
- -e 设置root密码
- -d MysqL:latest 使用MysqL:latest镜像以后台模式运行一个容器
3.查看运行的MysqL容器
docker ps | grep MysqL

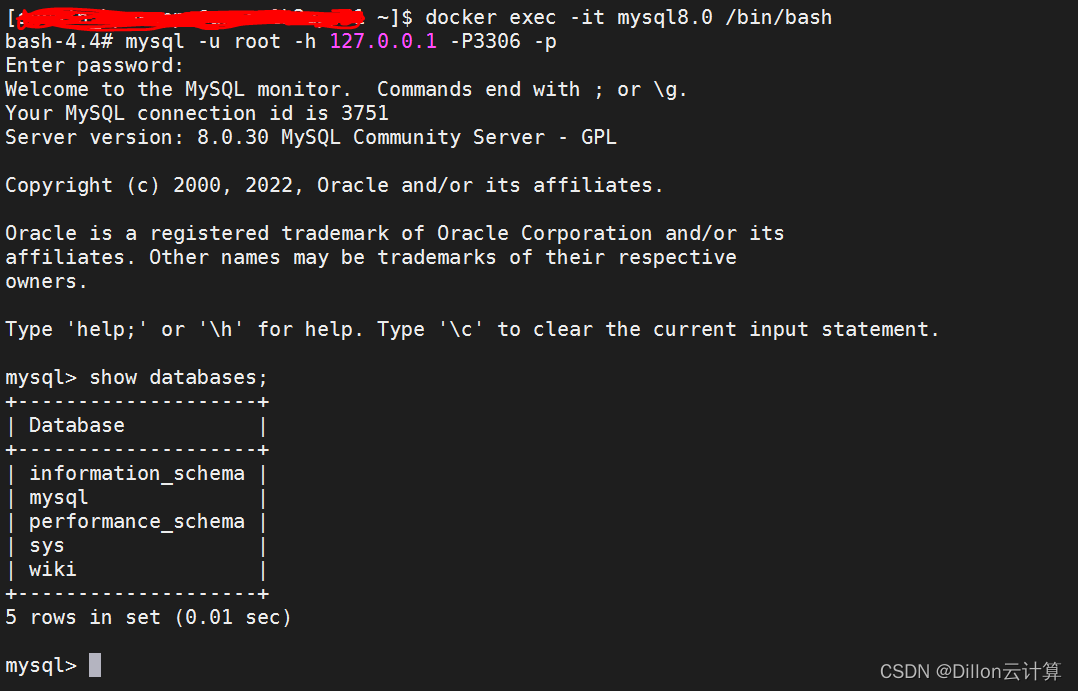
4.测试是否正常连接MysqL
- 进入容器
docker exec -it MysqL8.0 /bin/bash
- 连接MysqL
MysqL -u root -h 127.0.0.1 -P3306 -p
5.创建数据库
- 创建wiki数据库
CREATE DATABASE `wikidatabase`;
create user 'wikiuser'@'localhost' identified by 'wiki123456';
create user 'wikiuser'@'%' identified by 'wiki123456';
- 分配用户权限
grant all privileges on wikidatabase.* to 'wikiuser'@'localhost';
grant all privileges on wikidatabase.* to 'wikiuser'@'%';
flush privileges;
安装wiki.js
1.从Docker Hub中下载wiki镜像
docker pull requarks/wiki
2.查看wiki镜像
docker images | grep wiki
3.启动wiki容器
docker run -d -p 8083:3000 --name wiki --restart unless-stopped -e "DB_TYPE=MysqL" -e "DB_HOST=10.xxx.xx.xxx" -e "DB_PORT=3306" -e "DB_USER=wikiuser" -e "DB_PASS=wiki123456" -e "DB_NAME=wikidatabase" requarks/wiki
4.验证
curl localhost:8083

如果正常响应,说明已经部署成功
访问你的wiki网站
浏览器中输入你的地址,如http://wiki.aaa.com:8083
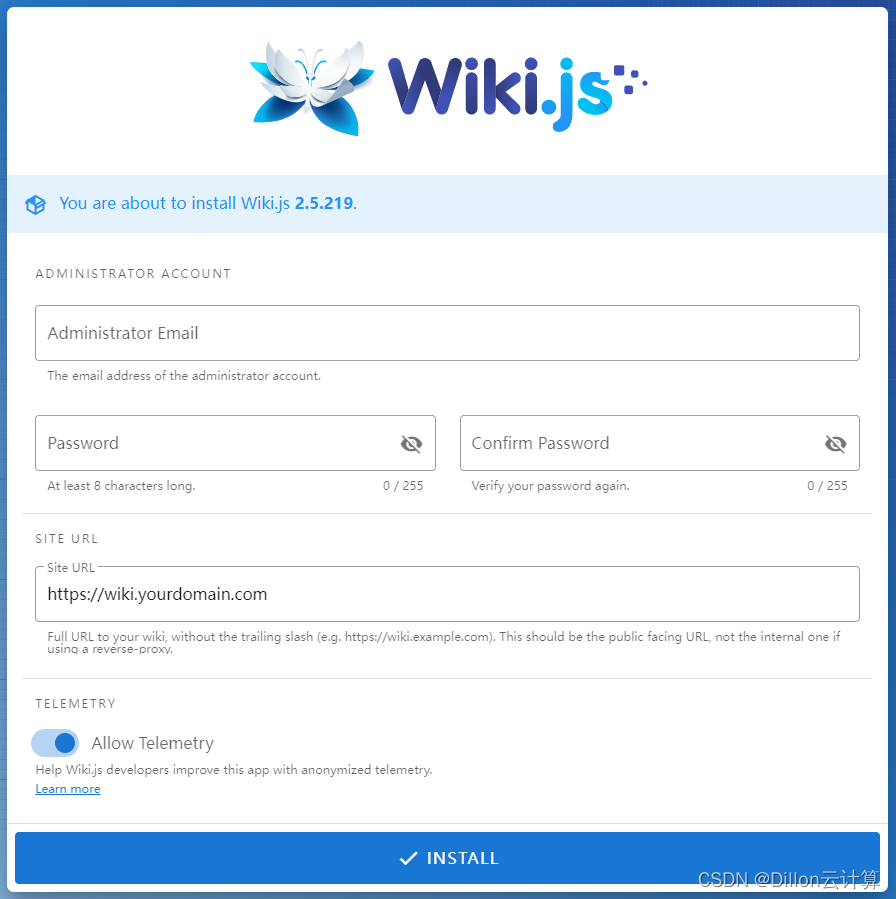
注意:第一次需要注册,只需要填写账号和密码,其他保持默认
系统如何使用,请自行摸索,到此结束!!
参考文档:
requarks/wiki
地址:https://github.com/requarks/wiki

