今天稍稍研究了在web项目中集成xfire的方法。
先注意以下内容:
1. xfire官网上下载的例子,基本上不能用,因为xfire1.2.6默认使用的是spring1.x的,到了2.x,找不到org.springframework.web.servlet这个包了。
2. 网上教的方法,大多都是照例子,很容易出错。
ok,下面进入正题,记录一下xfire的使用方法。
从网站上下载到xfire发行版,约18M,建议使用发行版,里面包含了一些例子,更重要的是依赖包都放在lib目录下了,使得项目开发更方便。
myeclipse下,新建一个web项目(没有用web service project的方式,不太会用)。
导入以下依赖包:

除了spring.jar之外,都在xfire-1.2.6/lib目录下。
<
web-app
>
<!-- Spring配置 -->
< context-param >
< param-name >contextConfigLocation </ param-name >
< param-value >classpath:org/codehaus/xfire/spring/xfire.xml,classpath:applicationContext.xml </ param-value >
</ context-param >
< listener >
< listener-class >org.springframework.web.context.ContextLoaderListener </ listener-class >
</ listener >
<!-- XFire 配置 -->
< servlet >
< servlet-name >xfireServlet </ servlet-name >
< servlet-class >org.codehaus.xfire.spring.XFireSpringServlet </ servlet-class >
</ servlet >
< servlet-mapping >
< servlet-name >xfireServlet </ servlet-name >
<!-- 在这个URI下开放Web Service服务 -->
< url-pattern >/service/* </ url-pattern >
</ servlet-mapping >
</ web-app >
然后就是spring的配置文件了,applicationContext.xml。
applicationContext.xml的配置很简洁。
<
bean
id
="helloService"
class
="sa.fs121.soap.service.impl.HelloServiceImpl"
/>
< bean id ="getHelloService" class ="org.codehaus.xfire.spring.ServiceBean" >
< property name ="serviceBean" ref ="helloService" />
< property name ="serviceClass" value ="sa.fs121.soap.service.IHelloService" />
< property name ="inHandlers" >
< list >
< ref bean ="addressingHandler" />
</ list >
</ property >
</ bean >
< bean id ="addressingHandler" class ="org.codehaus.xfire.addressing.AddressingInHandler" />
这个配置文件,细节方面还不是很了解,有待于深入下源码。
ok,还差业务代码。
IHelloService.java
public
interface IHelloService {
public String sayHello(String hello);
}
public String sayHello(String hello);
}
实现类:
HelloServiceImpl.java
public
class HelloServiceImpl
implements IHelloService {
public String sayHello(String hello) {
System.out.println( "接收客户端请求:" + hello);
return "Hello XFire," + hello;
}
}
public String sayHello(String hello) {
System.out.println( "接收客户端请求:" + hello);
return "Hello XFire," + hello;
}
}
到这里,全部的代码就写完了。
结构如下:

启动tomcat服务器,访问:
http://localhost:8080/xfire/service/?wsdl,正确的话,可以访问到wsdl。

使用Spring测试:
test.xml为配置文件:
<
beans
>
< bean id ="testWebService" class ="org.codehaus.xfire.spring.remoting.XFireClientfactorybean" >
< property name ="serviceClass" value ="sa.fs121.soap.service.IHelloService" />
< property name ="wsdlDocumentUrl" value ="http://localhost:8080/xfire/service/IHelloService?wsdl" />
</ bean >
</ beans >
< bean id ="testWebService" class ="org.codehaus.xfire.spring.remoting.XFireClientfactorybean" >
< property name ="serviceClass" value ="sa.fs121.soap.service.IHelloService" />
< property name ="wsdlDocumentUrl" value ="http://localhost:8080/xfire/service/IHelloService?wsdl" />
</ bean >
</ beans >
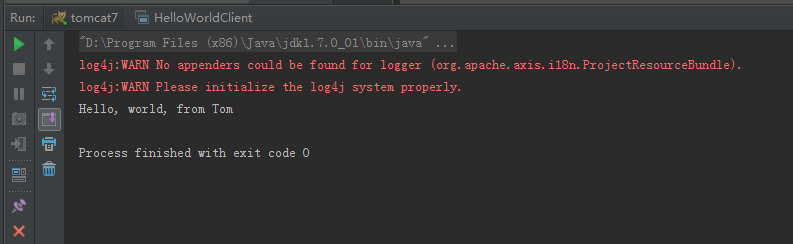
测试代码:
搞定。