目录
配套资料,免费下载
链接:https://pan.baidu.com/s/14AOFoYKdu-QDAFf_3GvwqQ
提取码:7hqi
复制这段内容后打开百度网盘手机App,操作更方便哦
注意:学习SpringMVC请参考我的另外一篇文章:https://caochenlei.blog.csdn.net/article/details/111901907
1、WEB开发
1.1、静态资源处理
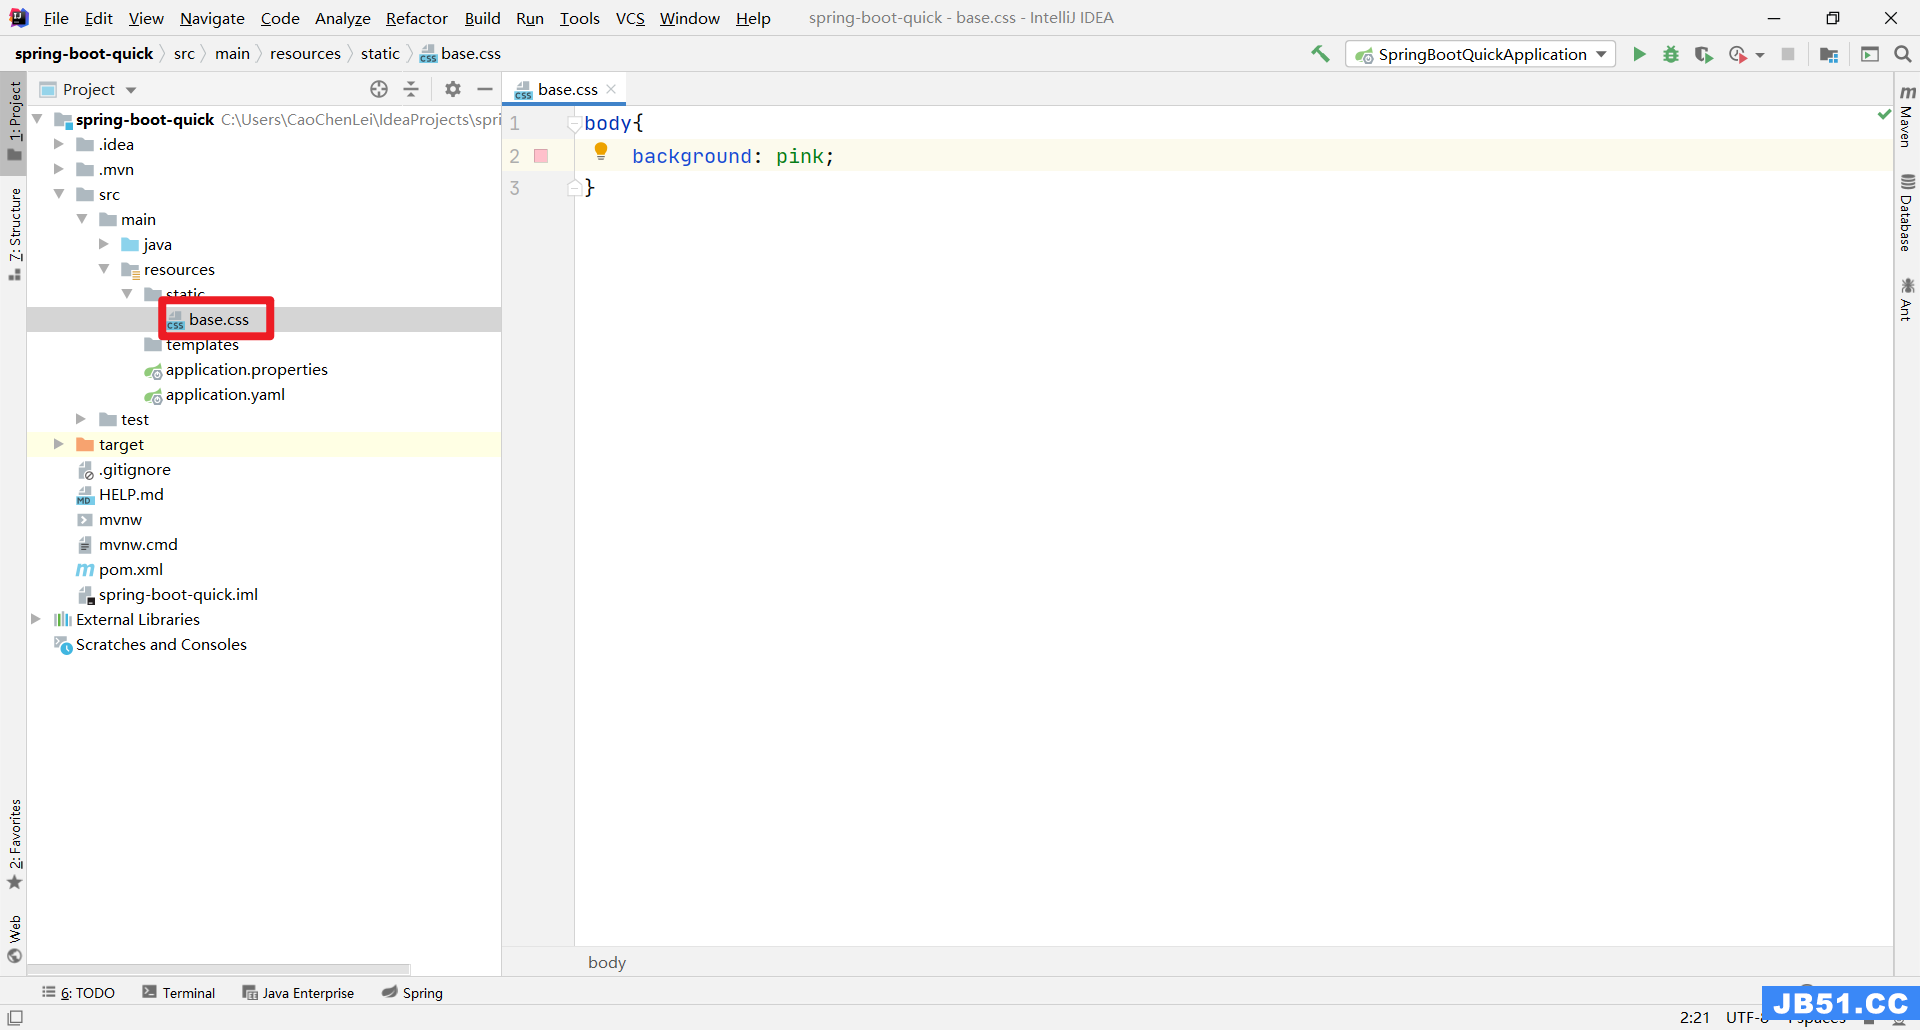
静态资源目录
只要静态资源放在类路径下中的:/static、/public、/resources、/META-INF/resources目录中,均可以被访问。
访问地址:当前项目根路径/ + 静态资源名
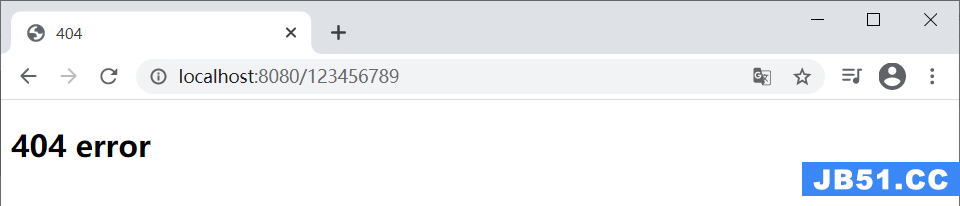
处理原则:默认拦截所有请求(/**),假设现在访问http://localhost:8080/base.css,首先先去 controller 中找有没有相对应的请求来处理base.css,有则处理。不能处理的所有请求又都交给静态资源处理器,静态资源也找不到则响应404页面。

静态资源前缀
默认没有前缀,如果想要设置前缀,请参考以下属性:
spring:
  mvc:
    static-path-pattern: /res/**

静态资源路径
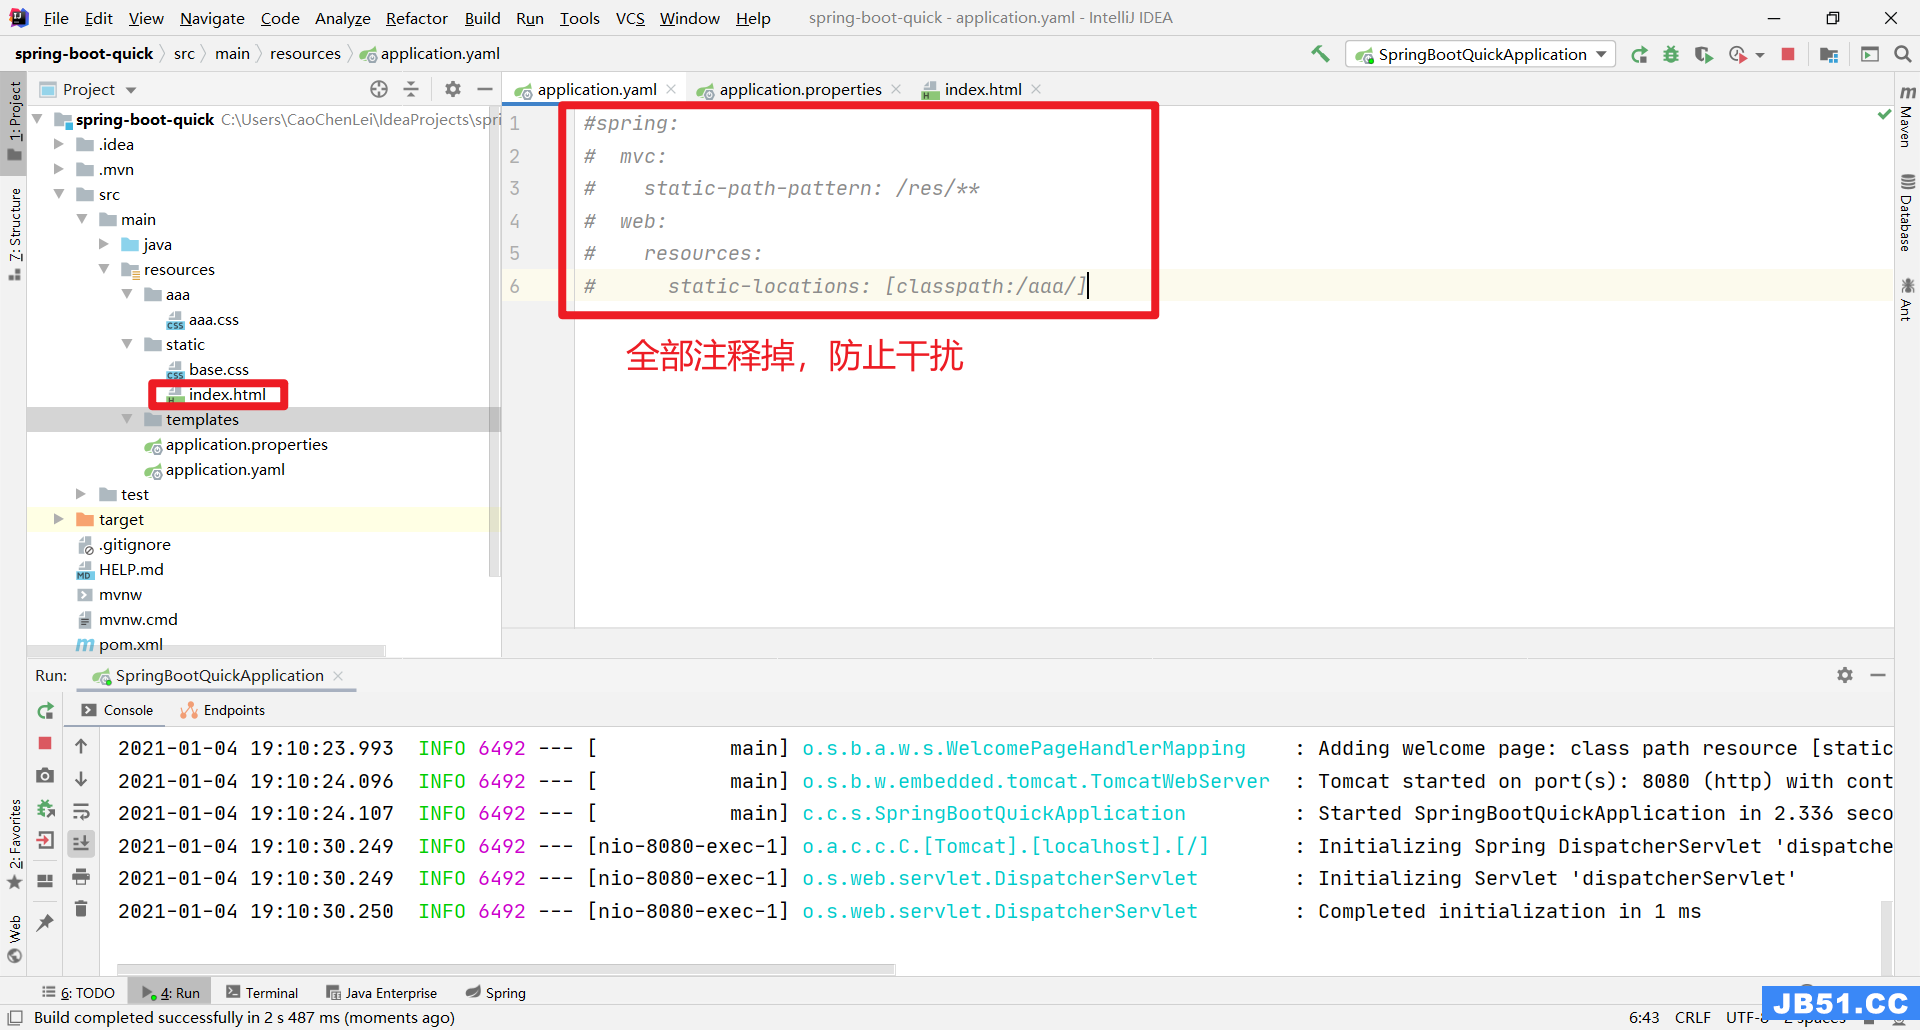
如果我们不想使用spring boot 给我们提供的静态资源路径,像自定义静态资源访问路径,请参考以下属性:
spring:
  web:
    resources:
      static-locations: [classpath:/aaa/]


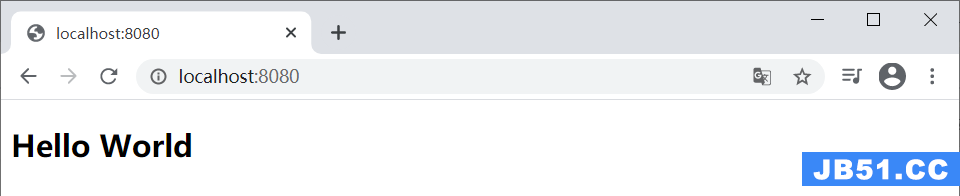
1.2、欢迎页的支持
欢迎页默认会找静态资源路径下的index.html,你可以配置静态资源路径,但不可以配置静态资源访问前缀,否则会导致欢迎页不能被默认访问。
1.3、错误页的支持
spring boot 在发生错误的时候,首先会到静态资源访问路径中找error/404.html(有精确错误码的页面)或者error/4xx.html(有通配符效果的页面),如果都没有则会报出白页。

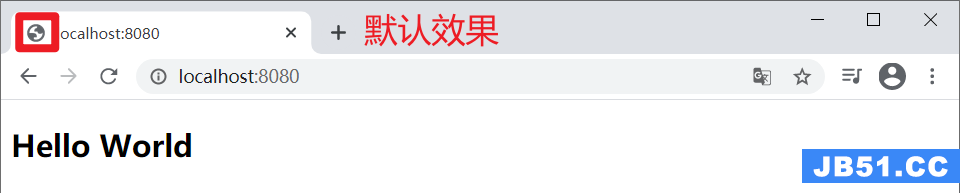
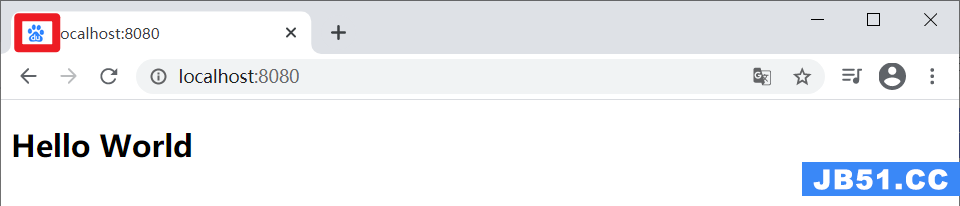
1.4、网站图标支持
可以直接将网站图标也就是 favicon.ico 放在静态资源目录下即可。

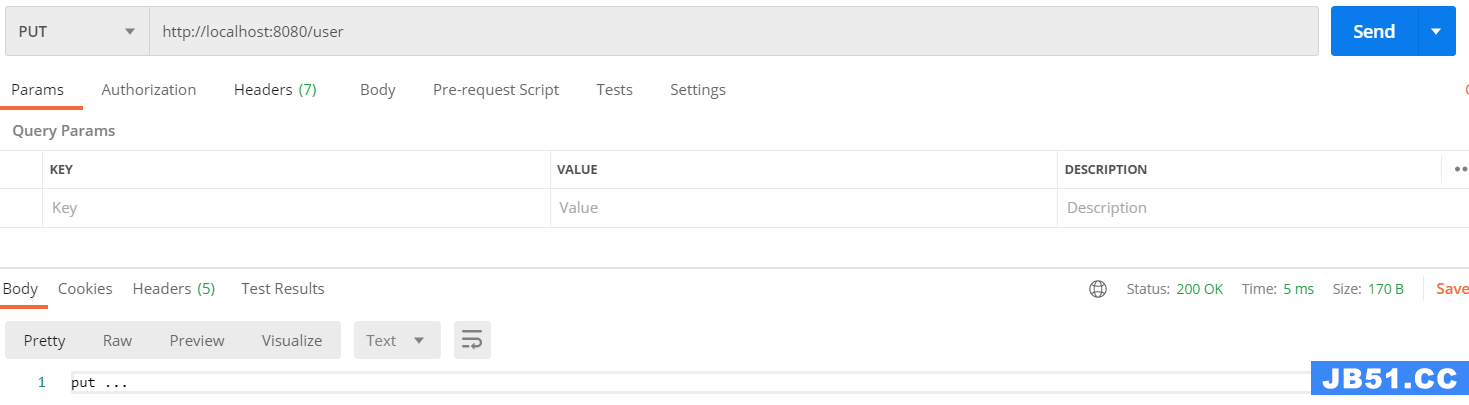
1.5、RESTful 风格
在原始的Spring MVC中,我们要想真正处理Restful风格,还得需要借助HiddenHttpMethodFilter的帮助,现在,这个过滤器已经不需要你来进行配置了,你可以直接使用Restful风格的api了,请看我该如何做。
@RestController
public class UserController {
@GetMapping("/user/{id}")
public String get(@PathVariable Integer id) {
return "get ..." + id;
}
@PostMapping("/user")
public String post() {
return "post ...";
}
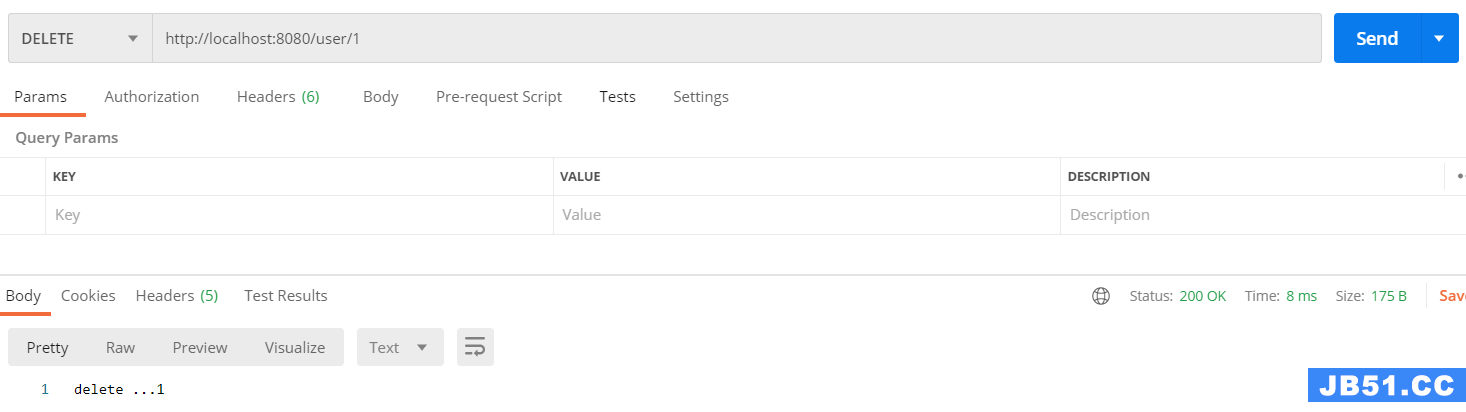
@DeleteMapping("/user/{id}")
public String delete(@PathVariable Integer id) {
return "delete ..." + id;
}
@PutMapping("/user")
public String put() {
return "put ...";
}
}
GET请求:

POST请求:

DELETE请求:
PUT请求:
1.6、原生组件注册
1.6.1、注解形式
创建以下目录:
- com.caochenlei.springbootquick.config
- com.caochenlei.springbootquick.servlet
- com.caochenlei.springbootquick.filter
- com.caochenlei.springbootquick.listener
@SpringBootApplication
@ServletComponentScan("com.caochenlei.springbootquick")/*指定原生组件都在哪里*/
public class SpringBootQuickApplication {
    public static void main(String[] args) {
        SpringApplication.run(SpringBootQuickApplication.class, args);
    }
}
com.caochenlei.springbootquick.servlet.MyServlet
访问地址:http://localhost:8080/aaa,原生的Servlet会直接响应,不经过Spring拦截器
@WebServlet(urlPatterns = {"/aaa", "/bbb"})
public class MyServlet extends HttpServlet {
    protected void doPost(HttpServletRequest request, HttpServletResponse response)
            throws ServletException, IOException {
        System.out.println("MyServlet doPost ...");
    }

    protected void doGet(HttpServletRequest request, IOException {
        System.out.println("MyServlet doGet ...");
    }
}
com.caochenlei.springbootquick.filter.MyFilter
访问地址:http://localhost:8080/
@WebFilter(urlPatterns = {"/*"})
public class MyFilter implements Filter {
    public void destroy() {
        System.out.println("MyFilter destroy ...");
    }

    public void doFilter(ServletRequest req, ServletResponse resp, FilterChain chain)
            throws ServletException, IOException {
        System.out.println("MyFilter doFilter ...");
        chain.doFilter(req, resp);
    }

    public void init(FilterConfig config)
            throws ServletException {
        System.out.println("MyFilter init ...");
    }
}
com.caochenlei.springbootquick.listener.MyListener
启动容器即可
@WebListener
public class MyListener implements ServletContextListener {
    @Override
    public void contextInitialized(ServletContextEvent sce) {
        System.out.println("MyListener contextInitialized ...");
    }

    @Override
    public void contextDestroyed(ServletContextEvent sce) {
        System.out.println("MyListener contextDestroyed ...");
    }
}
1.6.2、注册形式
com.caochenlei.springbootquick.config.MyRegisterConfig
@Configuration
public class MyRegisterConfig {
    @Bean
    public ServletRegistrationBean myServlet() {
        MyServlet myServlet = new MyServlet();
        return new ServletRegistrationBean(myServlet, "/aaa", "/bbb");
    }

    @Bean
    public FilterRegistrationBean myFilter() {
        MyFilter myFilter = new MyFilter();
        FilterRegistrationBean filterRegistrationBean = new FilterRegistrationBean(myFilter);
        filterRegistrationBean.setUrlPatterns(Arrays.asList("/*"));
        return filterRegistrationBean;
    }

    @Bean
    public ServletListenerRegistrationBean myListener() {
        MyListener myListener = new MyListener();
        return new ServletListenerRegistrationBean(myListener);
    }
}
1.7、支持异步请求
在Java应用中,绝大多数情况下都是通过同步的方式来实现交互处理的;但是在处理与第三方系统交互的时候,容易造成响应迟缓的情况,之前大部分都是使用多线程来完成此类任务,其实,在Spring 3.x之后,就已经内置了@Async来完美解决这个问题。
开启异步功能:
@SpringBootApplication
@EnableAsync
public class SpringBootQuickApplication {
    public static void main(String[] args) {
        SpringApplication.run(SpringBootQuickApplication.class, args);
    }
}
编写异步业务:
@Service
public class HelloService {
    @Async
    public void hello() {
        try {
            Thread.sleep(1000 * 5);
        } catch (InterruptedException e) {
            e.printStackTrace();
        }
        System.out.println("async");
    }
}
调用异步业务:
@RestController
public class HelloController {
    @Autowired
    private HelloService helloService;

    @RequestMapping("/async")
    public String async() {
        helloService.hello();
        return "async";
    }
}
1.8、支持定时任务
项目开发中经常需要执行一些定时任务,比如需要在每天凌晨时候,分析一次前一天的日志信息,Spring为我们提供了异步执行任务调度的方式。
开启定时任务:
@SpringBootApplication
@EnableScheduling
public class SpringBootQuickApplication {
    public static void main(String[] args) {
        SpringApplication.run(SpringBootQuickApplication.class, args);
    }
}
编写定时任务:
@Component
public class MyTask {
    /**
     * cron表达式表达了当前的这个方法应该在什么时候执行,他由以下部分组成:
     * second(秒),minute(分),hour(时),day of month(日),month(月),day of week(周几).
     * 下边这个任务代表:每个月周一到周六的任意时刻、任意分钟的整点数启动执行
     */
    @Scheduled(cron = "0 * * * * MON-SAT")
    public void hello(){
        System.out.println("hello ... ");
    }
}
corn表达式取值:

corn表达式示例:
【0 * * * * MON-SAT】:每个月周一到周六的任意时刻、任意分钟的整点数启动执行
【0 0/5 14,18 * * ?】:每天14点整,和18点整,每隔5分钟执行一次
【0 15 10 ? * 1-6】:每个月的周一至周六10:15分执行一次
【0 0 2 ? * 6L】:每个月的最后一个周六凌晨2点执行一次
【0 0 2 LW * ?】:每个月的最后一个工作日凌晨2点执行一次
【0 0 2-4 ? * 1#1】每个月的第一个周一凌晨2点到4点期间,每个整点都执行一次
2、日志记录
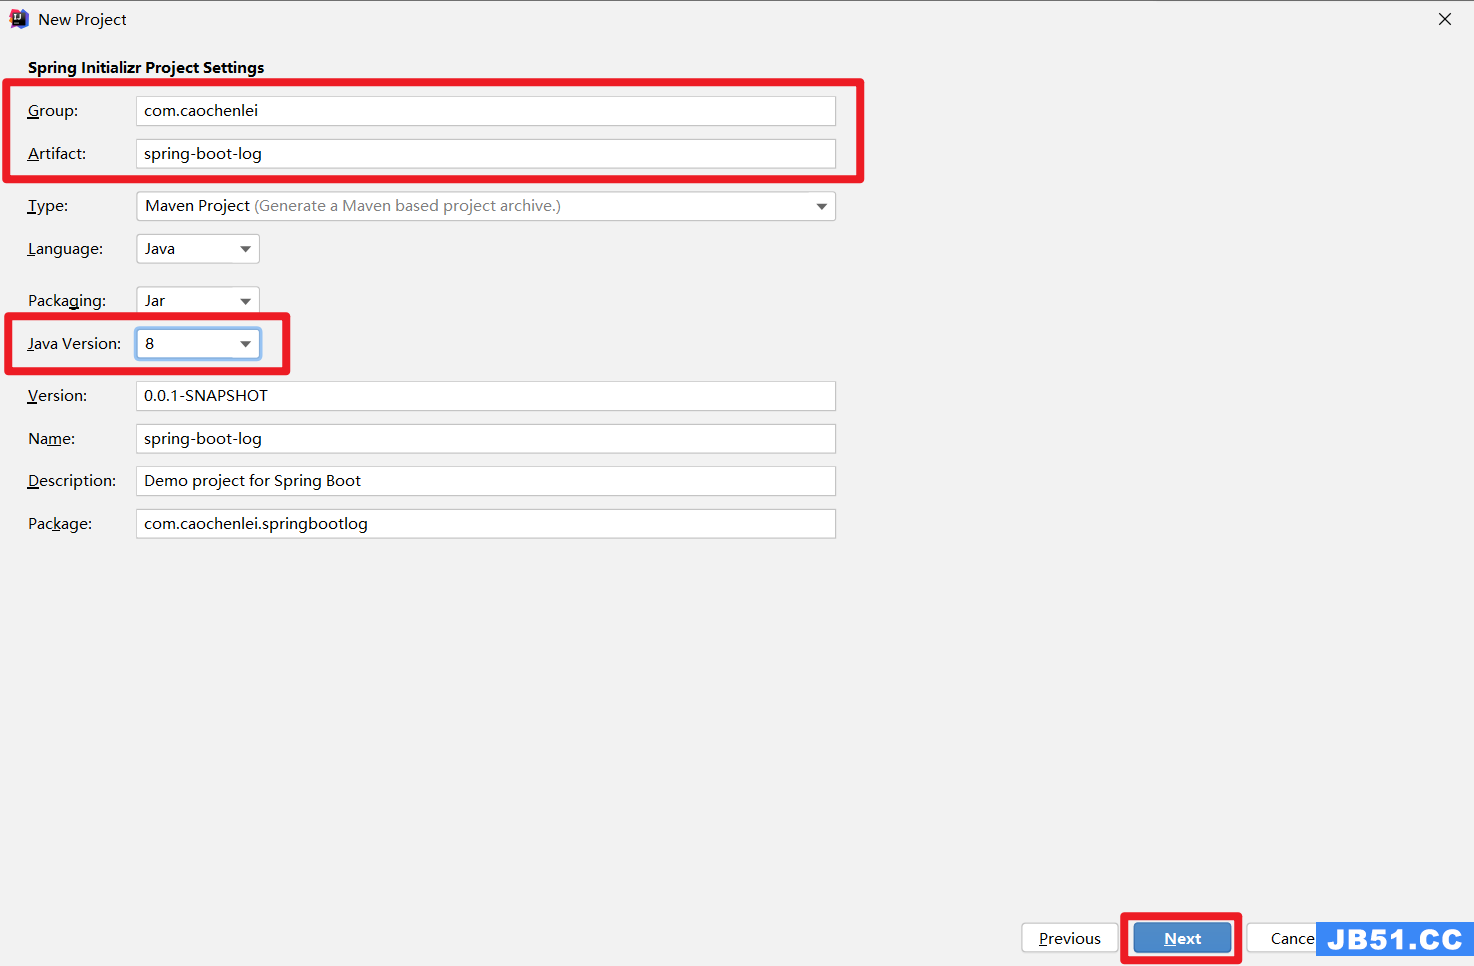
2.1、创建工程
2.2、日志使用
@SpringBootTest
class SpringBootLogApplicationTests {
    private static final Logger logger  = LoggerFactory.getLogger(SpringBootLogApplicationTests.class);

    @Test
    public void testLog() {
        String name = "张三";
        logger.error("------------error--------------{}",name);
        logger.warn("------------warn--------------{}",name);
        logger.info("------------info--------------{}",name);
        logger.debug("------------debug--------------{}",name);
        logger.trace("------------trace--------------{}",name);
    }
}
2.3、日志设置
logging:
  level:
    #日志文件输出级别
    root: trace
  file:
    #日志文件保存名称(他和path属性冲突,只能有一个生效)
    # name: spring.log
    #日志文件存放路径(他和name属性冲突,只能有一个生效)
    path: log
  logback:
    rollingpolicy:
      #用于创建日志压缩包的名称
      file-name-pattern: '${LOG_FILE}.%d{yyyy-MM-dd}.%i.gz'
      #用于设置日志文件最大大小(默认10MB)
      max-file-size: 1KB
      #用于设置日志文件保留时间(默认 7天)
      max-history: 15

#高亮日志输出
spring:
  output:
    ansi:
      enabled: always