本人野生程序员一名,了解了一些微服务架构、前后端分离、SPA的知识后就想试试做点什么东西。之前一直做后端,前端只是有基础知识。之前学习过angularjs,但当时就是一脸懵逼(完全看不懂是啥)就放弃了。最近又学了Vue,这次感觉总算明白了一些,但其中也跳过很多坑(应该还会更多),在这里写下来记录一下吧。
说回主题,之前传统登录认证的方法基本是由服务器端提供一个登录页面,页面中的一个form输入username和password后POST给服务器,服务器将这些信息与DB或Ldap中的用户信息对比,成功则将这个用户信息记录到session中。
这里我就跳了第一个大坑。传统方式前后端不分离,后端负责页面渲染,但是在前后分离的情况下,后端只负责通过暴露的RestApi提供数据,而页面的渲染、路由都由前端完成。因为rest是无状态的,因此也就不会有session记录到服务器端。
之前一直使用SpringSecurity+Cas+Ldap来做SSO,但是使用Vue做前端后我怎都想不出用之前的方法做SSO(这个坑真的爬了好久才爬出来)。后来终于想明白了上面说的session的问题(我是这么认为的也可能不对,CAS也有RestApi,但是按官网配置没成功,放弃了)。
第一个问题,该如何解决SSO的问题呢,要说到JWT。JWT是个规范,各种语言有各种语言的实现,可以去官网查到。我浅薄的理解是有一个认证服务(你自己写的,Db、Ldap什么都可以)这个认证服务会通过用户的提交信息判断认证是否成功,如果成功则查询出一些用户的信息(用户名、角色什么的),然后JWT把这些信息加密成为一个token,返回给客户端浏览器,浏览器把这些信息存储在localstorage中,以后每次访问资源都会在header中携带这个信息,服务器收到请求后使用和加密时相同的key解密密文,如果解密成功则视为用户已经认证过(当然你可以在加密时添加以一个过期时间)也就完成了SSO。使用解密出的角色信息你就可以判断这个用户是否有权限执行一些业务。这样做完后感觉好像SpringSecurity、Cas在SPA应用中的SSO似乎没什么作用了,目前我是这么认为的(当然可能不对)
第一个问题差不多解决了,来说第二个问题。之前因为有session的存在,在访问受保护的资源时如果服务器端没有当前用户的session,则会强制跳转到登录页。那在前后分离的情况下要如何实现这个需求。思路是这样的:利用Vue-Router的全局路由钩子,在访问任何页面时先判断localStorage中是否存在JWT加密后的token并且token是否过期,如果存在且没有过期则正常跳转到请求的页面,不存在或者过期则跳转到登录页重新认证。
思路说完了,上代码
1.首先你需要一个Ldap,我使用的是AD。这里我建立了一个叫minibox.com的域,并且添加了一个Employees的OU,其中有2个子OU,子OU中创建了2个用户。


2.搭建SpringBoot环境
2.1pom文件
<div class="jb51code">
<pre class="brush:xml;">
<project xmlns="http://maven.apache.org/POM/4.0.0" xmlns:xsi="http://www.w3.org/2001/XMLSchema-instance" xsi:schemaLocation="http://maven.apache.org/POM/4.0.0 http://maven.apache.org/xsd/maven-4.0.0.xsd">
4.0.0
minibox
an
0.0.1-SNAPSHOT
org.springframework.boot
spring-boot-starter-parent
1.5.1.RELEASE
org.springframework.boot
spring-boot-starter-web
org.springframework.boot
spring-boot-starter-test
test
org.springframework.boot
spring-boot-starter-hateoas
org.springframework.boot
spring-boot-devtools
true
io.jsonwebtoken
jjwt
0.7.0
org.springframework.ldap
spring-ldap-core
2.3.1.RELEASE
com.alibaba
fastjson
1.2.24
org.springframework.boot
spring-boot-maven-plugin
org.springframework.boot
spring-boot-maven-plugin
org.springframework
springloaded
1.2.0.RELEASE
server_config
使用了SSL,并且在ldap配置中使用了ldaps,这里同时也需要把AD的证书导入到server.keystore中。具体的可以查看java的keytool工具
server.port=8443
server.ssl.key-store=classpath:server.keystore
server.ssl.key-store-password=minibox
server.ssl.key-password=minibox
jwt
jwt加解密时使用的key
jwt.key=minibox
ldap_config
ldap配置信息,注意这里的userDn一定要写这种形式。referral设置为follow,说不清用途,似乎只有连接AD时才需要配置
ldap.url=ldaps://192.168.227.128:636
ldap.base=ou=Employees,dc=minibox,dc=com
ldap.userDn=cn=Administrator,cn=Users,dc=com
ldap.userPwd=qqq111!!!!
ldap.referral=follow
ldap.domainName=@minibox.com
/*
- SpringLdap配置。通过@Value注解读取之前配置文件中的值
*/
@Value("${ldap.url}")
private String ldapUrl;
@Value("${ldap.base}")
private String ldapBase;
@Value("${ldap.userDn}")
private String ldapUserDn;
@Value("${ldap.userPwd}")
private String ldapUserPwd;
@Value("${ldap.referral}")
private String ldapReferral;
/
SpringLdap的javaConfig注入方式
*/
@Bean
public LdapTemplate ldapTemplate() {
return new LdapTemplate(contextSourceTarget());
}
@Bean
public LdapContextSource contextSourceTarget() {
LdapContextSource ldapContextSource = new LdapContextSource();
ldapContextSource.setUrl(ldapUrl);
ldapContextSource.setBase(ldapBase);
ldapContextSource.setUserDn(ldapUserDn);
ldapContextSource.setPassword(ldapUserPwd);
ldapContextSource.setReferral(ldapReferral);
return ldapContextSource;
}
public static void main(String[] args) throws Exception {
SpringApplication.run(Application.class,args);
}
}
Vue.use(VueRouter)
Vue.use(VueResource)
//Vue-resource默认以payload方式提交数据,这样设置之后以formData方式提交
Vue.http.options.emulateJSON = true;
const routes = [
{
path: '/login',component : Login
},{
path: '/hello',component: Hello
}
]
const router = new VueRouter({
routes
})
//默认导航到登录页
router.push('/login')
/
全局路由钩子
访问资源时需要验证localStorage中是否存在token
以及token是否过期
验证成功可以继续跳转
失败返回登录页重新登录
/
router.beforeEach((to,from,next) => {
if(localStorage.token && new Date().getTime() < localStorage.tokenExpired){
next()
}
else{
next('/login')
}
})
new Vue({
el: '#app',template: '',components: { App },router,store
})


 今天小编给大家分享的是Springboot下使用Redis管道(pipeline...
 本篇文章和大家了解一下springBoot项目常用目录有哪些。有一...
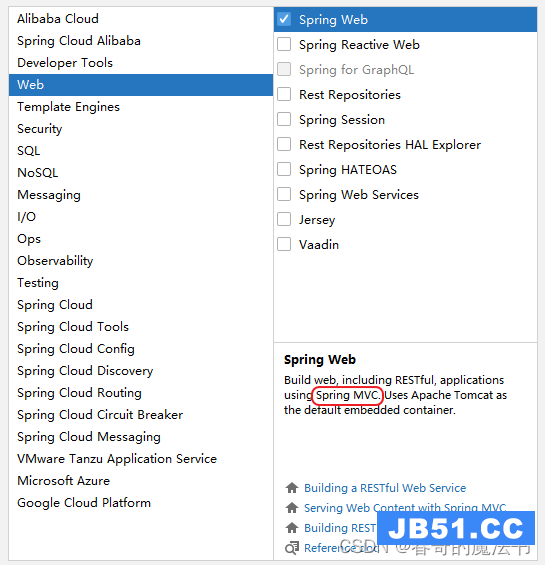 今天小编给大家分享的是SpringBoot配置Controller实现Web请求...