背景描述:最近做到一个项目,有个商品登记功能。登记的信息包括:基本信息若干(文字信息);图片信息,要求将图片保存到数据表中的image字段(sql server 数据库)
步骤:1.将图片上传到服务器的一个磁盘目录下。
2.将刚才上传好的图片写入数据库image字段。
一、上传图片:使用的是spring mvc 对上传的支持。
jsp 页面:
<form name="uploadForm" id method="post" action="${base}goods/doUploadFile"
            enctype="multipart/form-data">
            input type="file" name="image" /><br/>
            ="submit" value="上传" class="btn4" />
        </form>
spring_mvc.xml配置
bean
id="multipartResolver"
class="org.springframework.web.multipart.commons.CommonsMultipartResolver">
bean>
Controller:
@RequestMapping("/doUploadFile")
    public ModelAndView doUploadFile(HttpServletRequest request,HttpServletResponse response,HttpSession session)
            throws Exception,IOException {

        // 转型为MultipartHttpRequest:
        MultipartHttpServletRequest multipartRequest = (MultipartHttpServletRequest) request;
         获得文件:
        MultipartFile file = multipartRequest.getFile("image");
         获得文件名:
        String filename = file.getOriginalFilename();

        InputStream input = file.getInputStream();
         String path = "D:/goodsImages";下边这个path是写在配置文件里边的,方便修改,这个方法很长但或得的结果就是路劲D:/goodsImages
        String path = ConfigConstants.getInstance()
                .get("goods.uploadImage.dir");
        File savePath = new File(path);
        if (!savePath.exists()) {  文件夹
            savePath.mkdir();
        }
        SaveFileFromInputStream(input,savePath.toString(),filename);

        String result = "上传成功!";
        ModelAndView modelAndView = new ModelAndView("goods/uploadSuccess");
        modelAndView.addObject("result",result);
        modelAndView.addObject("filename"return modelAndView;
    }
如此上传就搞定了。
上传文件补充,另一个方法:
1.项目中导入 jar 包 cos.jar
2.表单: enctype="multipart/form-data"
3.处理方法:主要用到 MultipartRequest 类,详细情况查看:http://www.servlets.com/cos/javadoc/com/oreilly/servlet/MultipartRequest.html
    @RequestMapping(value = "/uploadImage.do"public String uploadImage(HttpServletRequest request)  Exception {
        MultipartRequest mr = null;
        int maxPostSize = 1 * 100 * 1024;
        mr=new MultipartRequest(request,"E:\\goodsImages",maxPostSize,"GBK"return ;
    }
二、生成略缩图。
public void createIcon() {
        try {
            File fiBig = new File("D:/log/tickit.png");  大图文件
            File foSmall = new File("D:/log/tickitIcon.png");  将要转换出的小图文件

            AffineTransform transform =  AffineTransform();
            读取图片
            BufferedImage bis = ImageIO.read(fiBig);
            获得图片原来的高宽
            int w = bis.getWidth();
            int h = bis.getHeight();

            double scale = (double) w / h;
       等比例缩放
            int nowWidth = 120;
            int nowHeight = (nowWidth * h) / w;
            if (nowHeight > 120) {
                nowHeight = 120;
                nowWidth = (nowHeight * w) / h;
            }

            double sx = (double) nowWidth /double sy = (double) nowHeight / h;

            transform.setToScale(sx,sy);

            AffineTransformOp ato = new AffineTransformOp(transform,);
            BufferedImage bid =  BufferedImage(nowWidth,nowHeight,BufferedImage.TYPE_3BYTE_BGR);
            ato.filter(bis,bid);

            ImageIO.write(bid,"png"catch (Exception e) {
            e.printStackTrace();
        }

    }
三、图片写入数据库。
1.图片实体类的 图片字段(picture) 用 byte[]类型
@Entity
@Table(name = "spaq_pic")
class GoodsPic {

    @Id
    @GeneratedValue(strategy = GenerationType.IDENTITY)
    @Column(name = "pic_id"private Long picId;

    @Column(name = "pic_name" String picName;

    @Column(name = "pic_descr" String picDescr;

    @Column(name = "picture"private byte[] picture;//

   省略其他字段及get,set方法
}
2.代码,读取本地图片储存在byte[]中,付给实体类的picture字段,调用 hibernate的save方法保存
/**
     * hibernate保存图片到数据表
     */
    @Transactional(readOnly = falsevoid hibsaveImage(GoodsPic gp,String path) {GoodsPic为图片实体类,path为图片所在磁盘的路径

         {
            InputStream in = ;
            in =  FileInputStream(path);
            byte[] b = new [in.available()];
            in.read(b);
            in.close();
            gp.setPicture(b);

            myDao.save(gp);
        }  (Exception e) {
            e.printStackTrace();
        }
    }
[spring如何启动的?这里结合spring源码描述了启动过程](https://www.cnblogs.com/demingblog/p/7443714.html)
[SpringMVC是怎么工作的,SpringMVC的工作原理](https://www.cnblogs.com/demingblog/p/9925268.html)
[spring 异常处理。结合spring源码分析400异常处理流程及解决方法](https://www.cnblogs.com/demingblog/p/9218271.html)
[Mybatis Mapper接口是如何找到实现类的-源码分析](https://www.cnblogs.com/demingblog/p/9544774.html)
[使用Netty实现HTTP服务器](https://www.cnblogs.com/demingblog/p/9970772.html)
[Netty实现心跳机制](https://www.cnblogs.com/demingblog/p/9957143.html)
[Netty系列](https://www.cnblogs.com/demingblog/p/9912099.html)
 这篇文章主要介绍了SpringCloudAlibaba和SpringCloud有什么区...
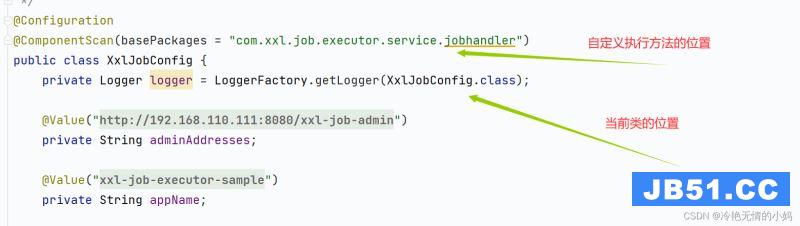 本篇文章和大家了解一下SpringCloud整合XXL-Job的几个步骤。...
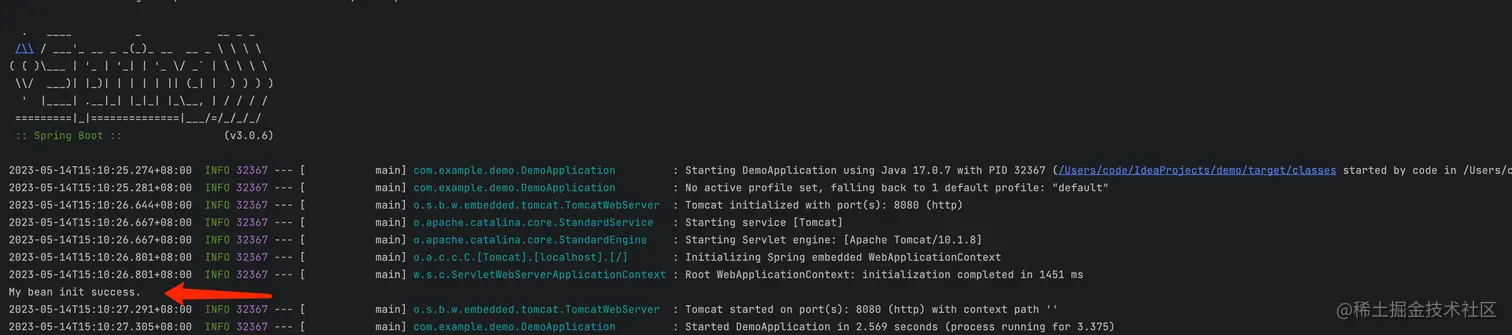 本篇文章和大家了解一下Spring延迟初始化会遇到什么问题。有...
 这篇文章主要介绍了怎么使用Spring提供的不同缓存注解实现缓...