Konva创建标签编辑器(一)舞台
一、创建一个Stage
创建一个LabelStage继承于Konva.Stage 重写其中的bathDraw方法用于更新事件的监听。
查看Konva的源码将其复制
import Konva from 'konva'

class LabelStage extends Konva.Stage {
  batchDraw() {
    this.getChildren().forEach(function (layer) {
      layer.batchDraw()
    })
    Konva.Util.requestAnimFrame(() => {
      this.fire('after:render')
    })
    return this
  }
}

export { LabelStage }
二、 添加舞台的创建
需要将我们的舞台(模板)突出显示。
继续改造我们的Stage,填加具体代码如下
import Konva from 'konva'

class LabelStage extends Konva.Stage {
  constructor(config: Konva.StageConfig) {
    super(config)
    this.add(this.templateLayer)
    this.batchDraw()
  }
  batchDraw() {
    this.getChildren().forEach(function (layer) {
      layer.batchDraw()
    })
    Konva.Util.requestAnimFrame(() => {
      this.fire('after:render')
    })
    return this
  }

  template: { width: number; height: number } = { width: 0, height: 0 }
  protected templateLayer: Konva.Layer = new Konva.Layer({
    name: 'templateLayer',
    listening: false,
    imageSmoothingEnabled: false
  })
  /**
   * 渲染画板大小
   */
  renderTemplate(width: number, height: number) {
    this.template = { width, height }
    const stageWidth = this.width()
    const stageHeight = this.height()
    this.x((stageWidth - width) / 2)
    this.y((stageHeight - height) / 2)
    const background = new Konva.Rect({
      width: width,
      height: height,
      fill: 'white',
      x: 0,
      y: 0,
      strokeWidth: 0
    })
    this.templateLayer.add(background)
    this.templateLayer.batchDraw()
  }
}

export { LabelStage }
得到效果
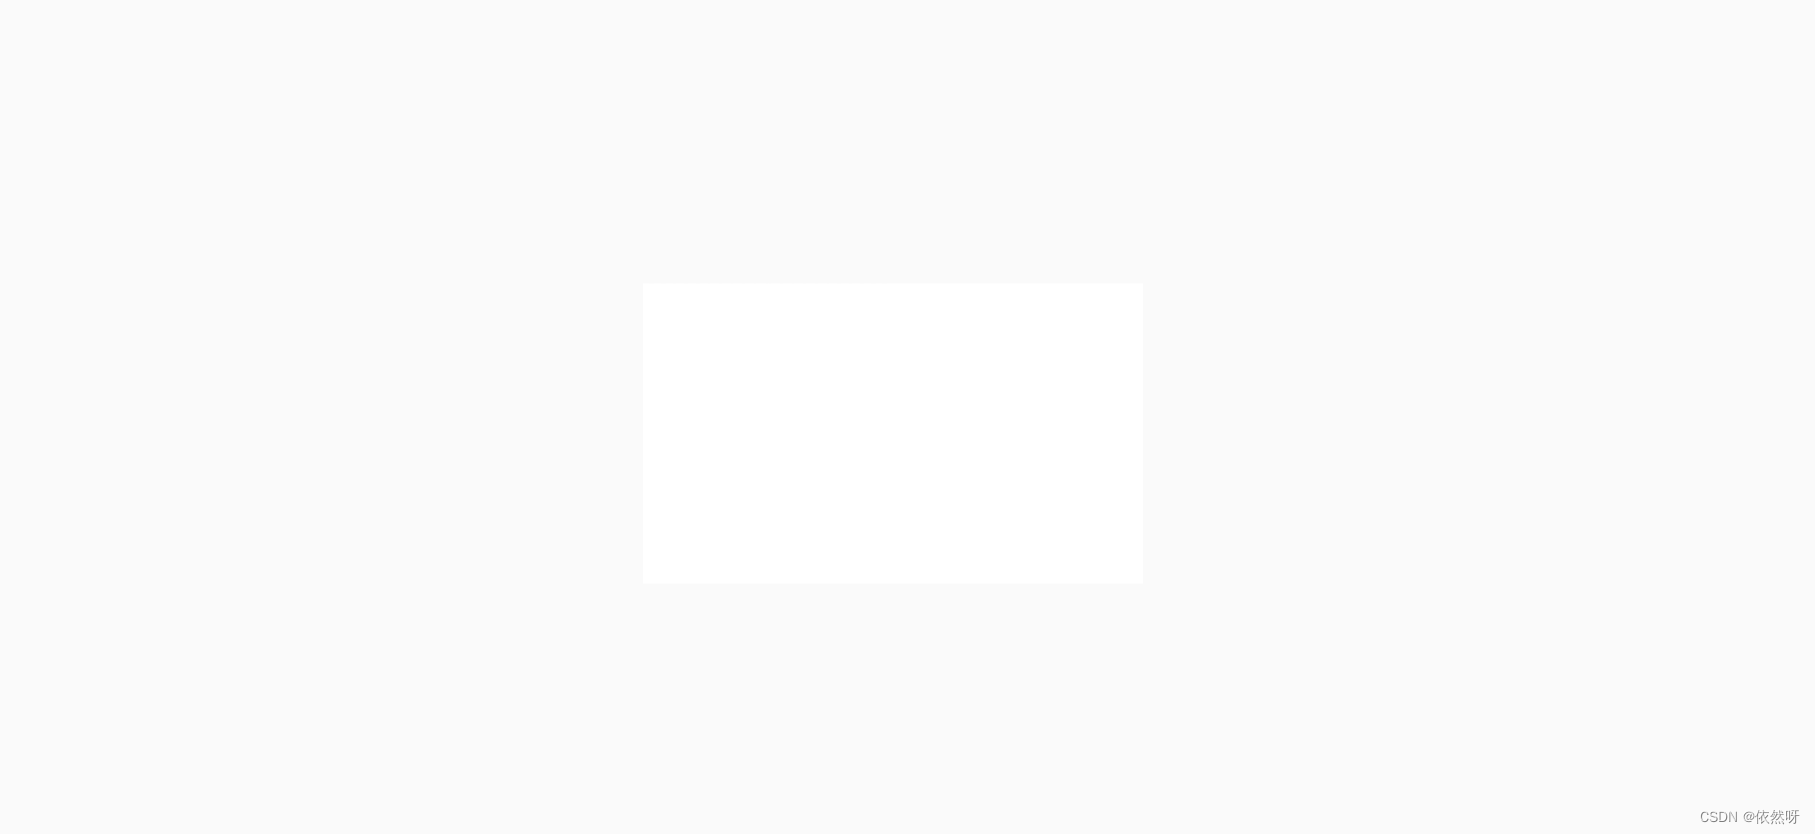
可以看出我们的舞台按照我们的大小绘制了出来,这是一个参数为500*300的大小。
如果更小的模板将会得到更小的结果,为此我们需要改造一下我们的舞台,将其初始化时放大到一个合理的倍数,具体改造如下:
protected baseScale = 1
protected sizeToScale(value: number) {
  return value * this.baseScale
}
/**
 * 渲染画板大小
 */
renderTemplate(width: number, height: number) {
  this.template = { width, height }
  const stageWidth = this.width()
  const stageHeight = this.height()
  console.log(stageWidth, stageHeight)
  const scaleW = (stageWidth / width) * 0.8
  const scaleH = (stageHeight / height) * 0.8
  this.baseScale = Math.min(scaleW, scaleH)
  width = this.sizeToScale(width)
  height = this.sizeToScale(height)
  this.x((stageWidth - width) / 2)
  this.y((stageHeight - height) / 2)
  const background = new Konva.Rect({
    width: width,
    height: height,
    fill: 'white',
    x: 0,
    y: 0,
    strokeWidth: 0
  })
  this.templateLayer.add(background)
  this.templateLayer.batchDraw()
}
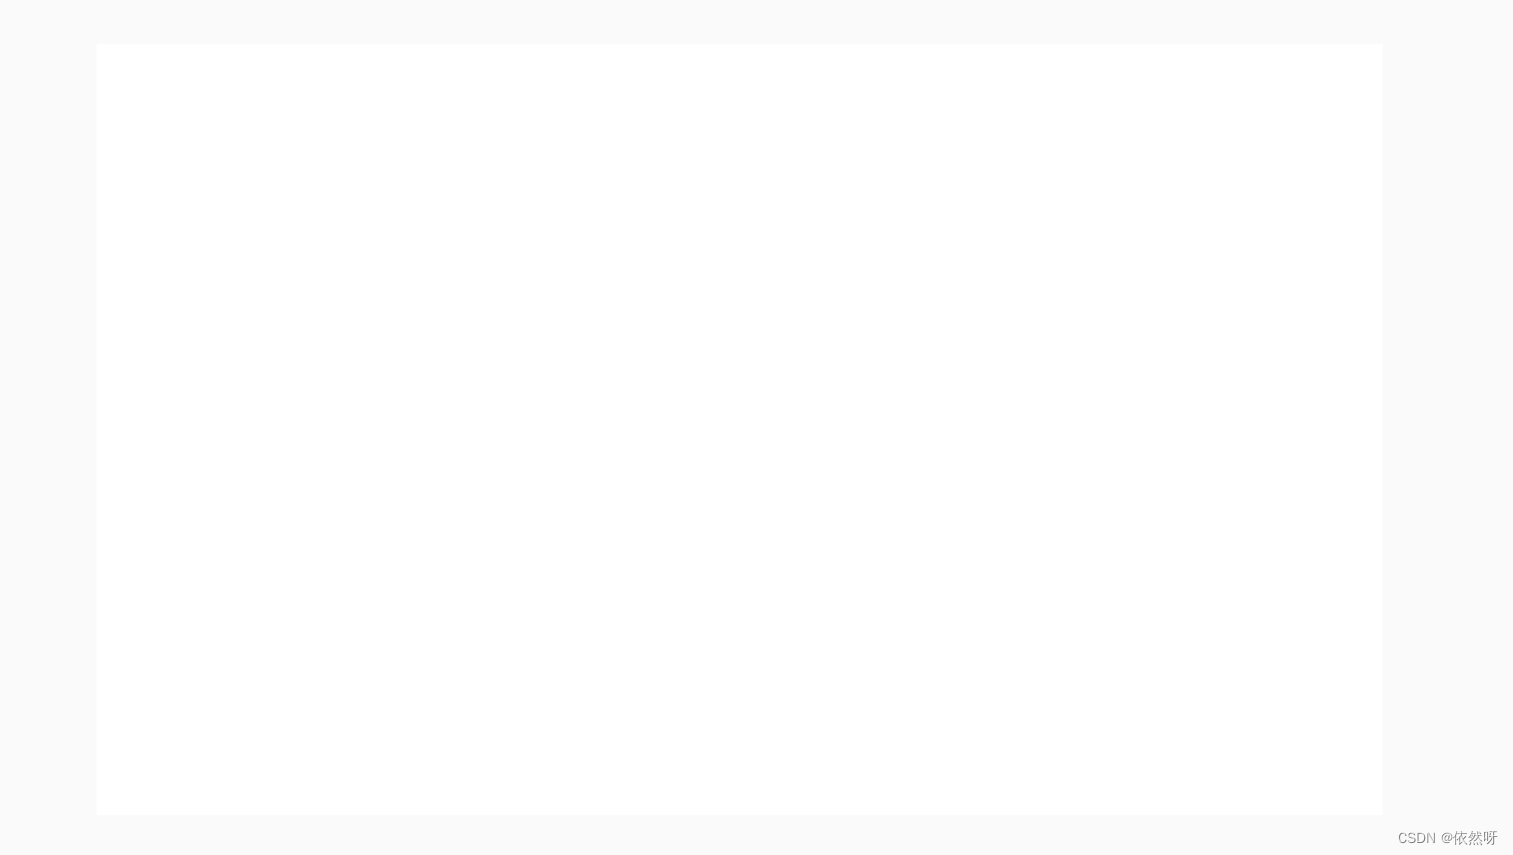
这样就可以将画布缩放至适合屏幕的大小,现在第一次加载的时候就会得到一个更优雅的舞台。
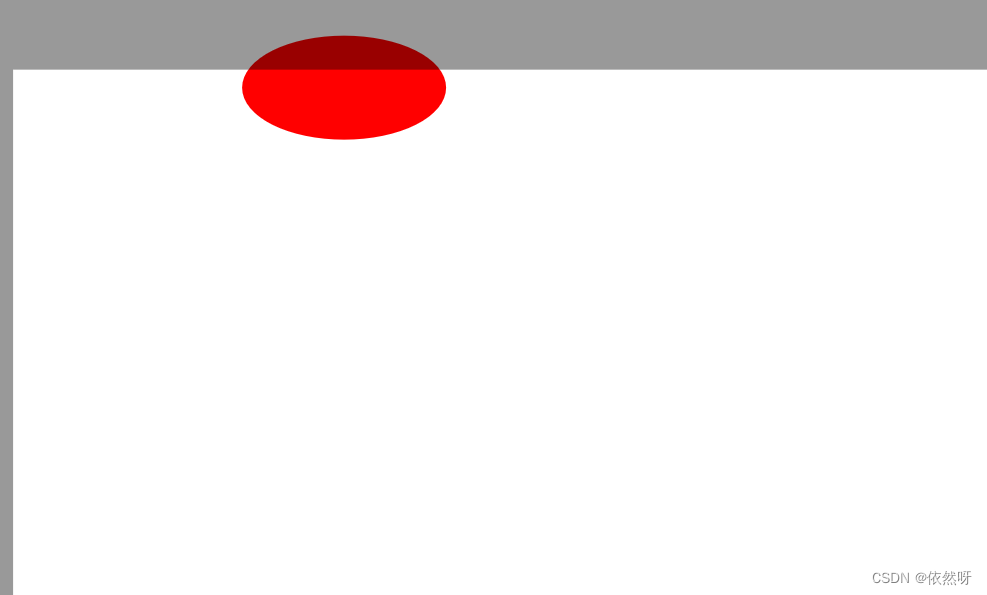
当我们绘制元素时,超出舞台的部分希望他可以有一个蒙层的感觉,能清楚的让用户知道超出的部分是不超出,但是他又可能看得到他的内容。这个可以通过canvas中的globalCompositeOperation实现蒙版的效果,继续改造renderTemplate具体如下:
renderTemplate(width: number, height: number) {
  this.template = { width, height }
  const stageWidth = this.width()
  const stageHeight = this.height()
  console.log(stageWidth, stageHeight)
  const scaleW = (stageWidth / width) * 0.8
  const scaleH = (stageHeight / height) * 0.8
  this.baseScale = Math.min(scaleW, scaleH)
  width = this.sizeToScale(width)
  height = this.sizeToScale(height)
  this.x((stageWidth - width) / 2)
  this.y((stageHeight - height) / 2)
  const mask = new Konva.Rect({
    width: 20000000,
    height: 20000000,
    fill: 'rgba(0,0,0,0.2)',
    x: -10000000,
    y: -10000000,
    strokeWidth: 0
  })
  this.templateLayer.add(mask)
  const background = new Konva.Rect({
    width,
    height,
    fill: '#ffffff',
    x: 0,
    y: 0,
    globalCompositeOperation: 'destination-out',
    strokeWidth: 0,
    cornerRadius: 0
  })
  this.templateLayer.add(background)
  this.templateLayer.batchDraw()
}
随意绘制一个图形查看效果 超出的图形会处于阴影中。
下一篇更新标尺与网格