微服务与中间件系列——Feign
Feign
Feign的引入使得我们能够解决:
- 远程调用可读性差,编程体验不统一
- 参数复杂URL难以维护
- 负载均衡的实现
Feign是一个声明式的http客户端,官方地址: https://github.com/OpenFeign/feign其作用就是帮助我们优雅的实现http请求的发送,解决上面提到的问题
QuickStart
准备工作
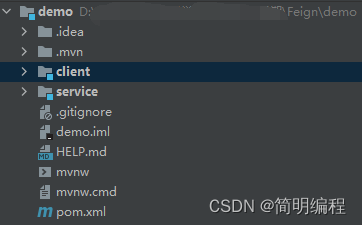
构建如下微服务项目
引入使用Nacos
如果你对这个地方有问题,请参照:微服务与中间件系列——Nacos快速使用
1.引入依赖
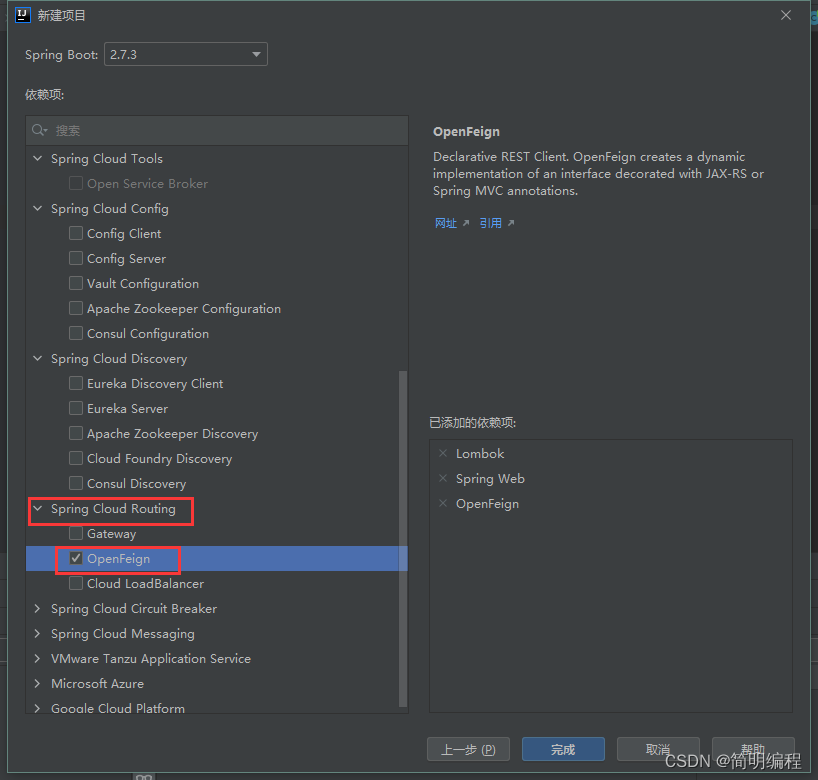
		<dependency>
            <groupId>org.springframework.cloud</groupId>
            <artifactId>spring-cloud-starter-openfeign</artifactId>
        </dependency>
2.完成service模块业务
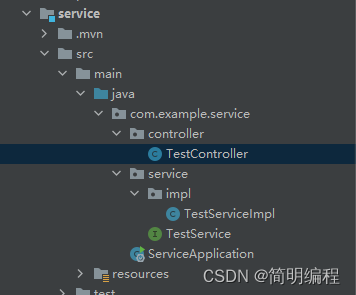
2.1 编写TestService接口
public interface TestService {
    void test();
}
2.2编写TestServiceImpl
@Service
public class TestServiceImpl implements TestService {
@Override
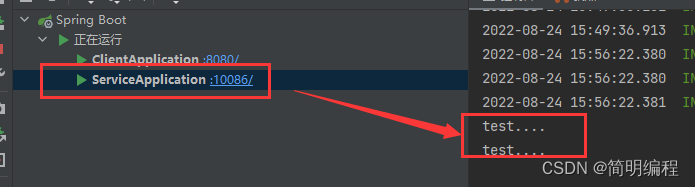
public void test() {
System.out.println("test....");
}
}
2.3编写TestController
@RestController
public class TestController {
    @Autowired
    private TestService testService;

    @GetMapping("/service/test/{id}")
    public String test(@PathVariable("id")String id){
        testService.test();
        return id;
    }
}
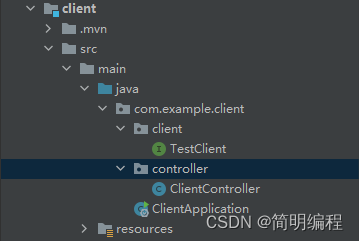
3.完成Client模块服务调用业务
3.1@EnableFeignClients开启Feign注解
找到启动类添加@EnableFeignClients注解
@EnableFeignClients
@SpringBootApplication
public class Test1Application {

    public static void main(String[] args) {
        SpringApplication.run(Test1Application.class, args);
    }

}
3.2编写Client接口进行指定
@FeignClient("testService")
public interface TestFeignClient {
    @GetMapping("/test/{id}")
    String test(@PathVariable("id") int id);
}
3.3编写外部暴露的client的controller
@RestController
public class ClientController {

    @Autowired
    private TestClient testClient;

    @GetMapping("/test/{id}")
    public String testFeign(@PathVariable("id")String id){
        final String test = testClient.test(id);
        return test;
    }
}
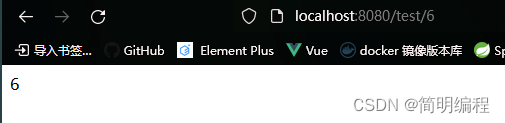
4.测试
如下你可以分为client中暴露的服务达到访问实际在service模块中的服务
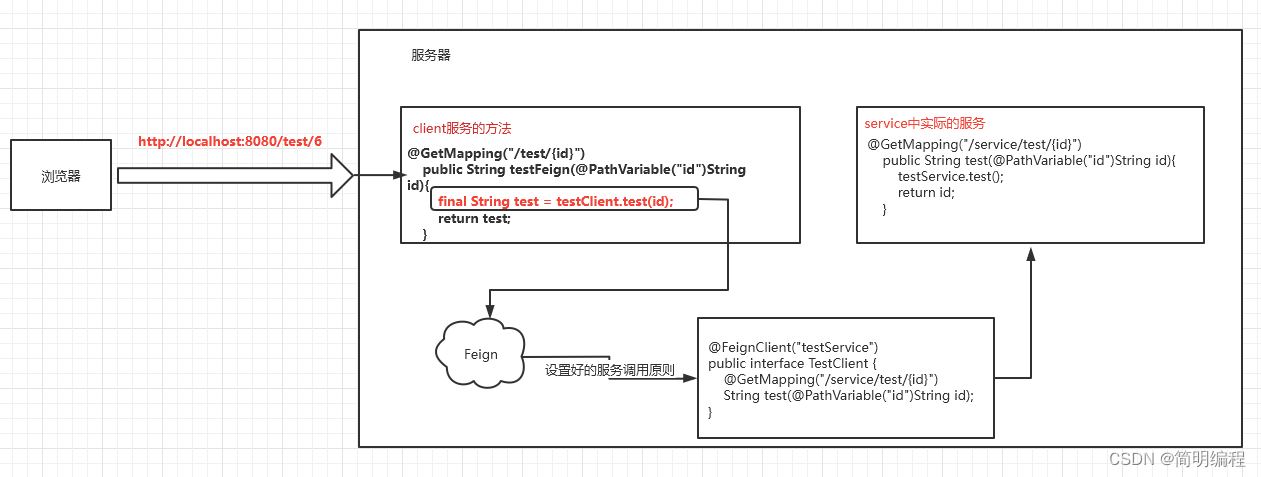
QuickStart的对应讲解
访问流程:
- 浏览器访问
http://localhost:8080/test/6 - client服务进行接收处理
- 交由Feign指派
- 实际service服务进行处理
Feign配置
一般来说我们需要自己配置日志级别
| 类型 | 作用 | 说明 |
|---|---|---|
| feign.Logger.Level | 修改日志级别 | 包含四种不同的级别:NONE、BASIC、HEADERS、FULL |
| feign.codec.Decoder | 响应结果的解析器 | http远程调用的结果做解析,例如解析json字符串为java对象 |
| feign.codec.Encoder | 请求参数编码 | 将请求参数编码,便于通过http请求发送 |
| feign. Contract | 支持的注解格式 | 默认是SpringMVC的注解 |
| feign.Retryer | 失败重试机制 | 请求失败的重试机制,默认是没有,不过会使用Ribbon的重试 |
yaml配置修改
注意请配置在消费者中
这里是对日志的配置修改,在开发中可以采用Basic,上线后请关闭日志以确保性能
全局
# config下写default表示全局生效
feign:
  client:
    config:
      default:
        loggerLevel: FULL
单个服务
写服务的名称则是某个服务生效
spring:
  application:
    name: testService

feign:
  client:
    config:
      testService:
        loggerLevel: FULL
代码形式修改
1.声明一个Bean
public class FeignConfig{
	@Bean
	public Logger.Level feignLogLevel(){
		return Logger.Level.FULL
	}
}
2. 添加注解
全局
找到启动类
@EnableFeignClients(defaultConfiguration = FeignClientConfiguration.class)
单个服务
@FeignClient(value = "userservice",configuration = FeignclientConfiguration.class)
采用连接池替换Feign底层
采用连接池可以优化Feign的性能,代替URLConnection
使用HttpClient
1.引入依赖
<!-- https://mvnrepository.com/artifact/io.github.openfeign/feign-httpclient -->
<dependency>
    <groupId>io.github.openfeign</groupId>
    <artifactId>feign-httpclient</artifactId>
    <version>11.9</version>
</dependency>
2.修改yaml配置
feign:
  client:
    config:
      default:
        loggerLevel: BASIC
  httpclient:
    enabled: true # 开启
    max-connections: 100 # 最大连接数
    max-connections-per-route: 25 #每个路径的最大连接数
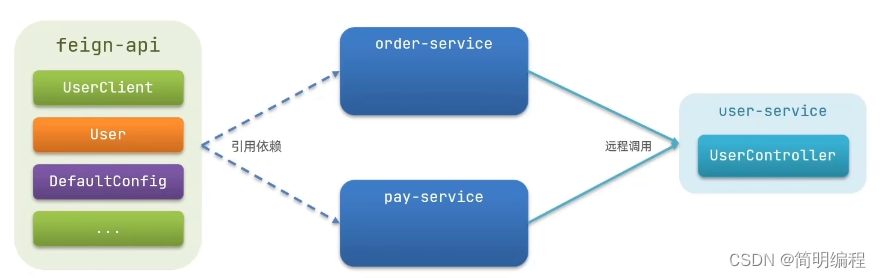
抽取Feign形成独立模块
将FeignClient抽取为独立模块,并且把接口有关的POJO、默认的Feign配置都放到这个模块中,提供给所有消费者使用
1.新建项目
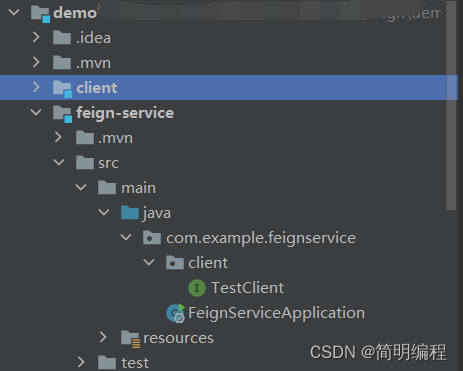
2.将配置等移入feign-service
3.在需要的服务中引入
        <dependency>
            <groupId>com.example</groupId>
            <artifactId>feign-service</artifactId>
            <version>0.0.1-SNAPSHOT</version>
        </dependency>
4.设置扫描包
@SpringBootApplication
@EnableFeignClients(clients = TestClient.class)
public class ClientApplication {

    public static void main(String[] args) {
        SpringApplication.run(ClientApplication.class, args);
    }

}
指定包下扫描所有
@EnableFeignCLients(basePackages = "包所在的地址")
指定FeignClient字节码
@EnableFeignClients(clients = TestClient.class)