环境
Linux版本:centos7.6 64位
db:192.128.90.171
安装前准备工作
1.关闭selinux
[root@db ~]# vim /etc/selinux/config
SELINUX=disabled
2.关闭firewall,清空iptables
[root@db ~]# systemctl stop firewalld.service
[root@db ~]# systemctl disable firewalld.service
[root@db ~]# iptables -L
[root@db ~]# iptables -F
3.安装LNMP环境依赖软件包
[root@db ~]# yum -y install bzip2-devel curl-devel freetype-devel gcc libjpeg-devel libpng-devel libxslt-devel libxml2-devel openssl-devel pcre-devel pcre-devel zlib-devel
编译安装Nginx
1.下载Nginx-1.16.0.tar.gz
[root@db ~]# wget https://Nginx.org/download/Nginx-1.16.0.tar.gz
2.解压Nginx包并配置安装
[root@db ~]# tar -zxvf Nginx-1.16.0.tar.gz
[root@db ~]# cd Nginx-1.16.0
[root@db Nginx-1.16.0]# ./configure --prefix=/usr/local/Nginx
[root@db Nginx-1.16.0]# make
[root@db Nginx-1.16.0]# make install
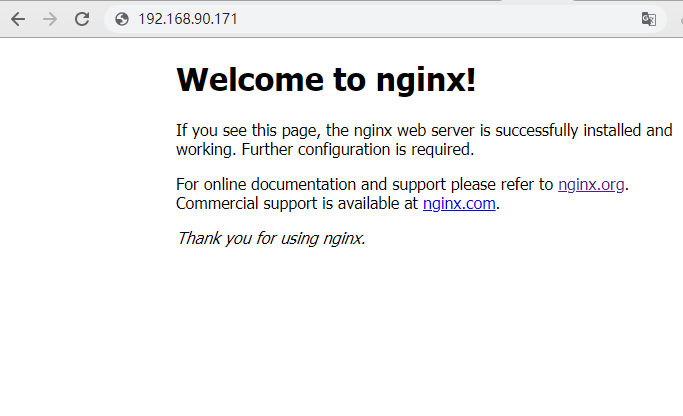
3.测试是否安装成功
[root@db ~]# cd /usr/local/Nginx/
[root@db ~]# /usr/local/Nginx/sbin/Nginx -t
[root@db ~]# /usr/local/Nginx/sbin/Nginx
浏览器输入服务器的IP地址:192.168.90.171
4.修改网站的根目录为:/webapp/html
[root@db Nginx]# vim /usr/local/Nginx/conf/Nginx.conf
server {
        listen       80;
        server_name  192.168.90.171;
        root         /webapp/html;
        #charset koi8-r;

        #access_log  logs/host.access.log  main;

        location / {
            #root   html;
            index  index.PHP index.html index.htm;
        }
[root@db ~]# mkdir -p /webapp/html
[root@db ~]# cd /webapp/html/
[root@db html]# vim index.html
<p1>welcome to Nginx</p1>
[root@db ~]# /usr/local/Nginx/sbin/Nginx -s reload
测试:
浏览器输入服务器的IP地址:192.168.90.171/index.html

5.添加Nginx到系统服务
[root@db ~]# /usr/local/Nginx/sbin/Nginx -s quit
[root@db ~]# vim /lib/systemd/system/Nginx.service
[Unit]
Description=Nginx service
After=network.target

[Service]
Type=forking
ExecStart=/usr/local/Nginx/sbin/Nginx
ExecReload=/usr/local/Nginx/sbin/Nginx -s reload
ExecStop=/usr/local/Nginx/sbin/Nginx -s quit
PrivateTmp=true

[Install]
WantedBy=multi-user.target
[root@db ~]# systemctl start Nginx
[root@db ~]# systemctl enable Nginx
编译安装PHP
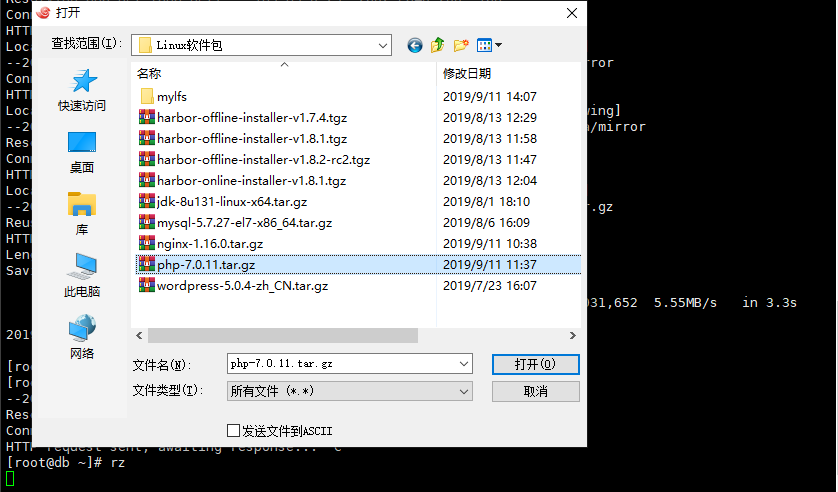
1.下载PHP-7.0.11.tar.gz
下载地址:http://PHP.net/get/PHP-7.0.11.tar.gz/from/a/mirror,下载在本地然后上传到服务器
[root@db ~]# rz
2.解压安装包并配置安装
[root@db ~]# tar -zxvf PHP-7.0.11.tar.gz
[root@db ~]# cd PHP-7.0.11
[root@db PHP-7.0.11]# ./configure --prefix=/usr/local/PHP --with-curl --with-freetype-dir --with-gd --with-gettext --with-iconv-dir --with-kerberos --with-libdir=lib64 --with-libxml-dir --with-MysqLi --with-openssl --with-pcre-regex --with-pdo-MysqL --with-pdo-sqlite --with-pear --with-png-dir --with-jpeg-dir --with-xmlrpc --with-xsl --with-zlib --with-bz2 --with-mhash --enable-fpm --enable-bcmath --enable-libxml --enable-inline-optimization --enable-gd-native-ttf --enable-mbregex --enable-mbstring --enable-opcache --enable-pcntl --enable-shmop --enable-soap --enable-sockets --enable-sysvsem --enable-sysvshm --enable-xml --enable-zip
[root@db PHP-7.0.11]# make
[root@db PHP-7.0.11]# make install
3.配置PHP
[root@db PHP-7.0.11]# cp PHP.ini-development /usr/local/PHP/PHP.ini
[root@db PHP-7.0.11]# cd /usr/local/PHP/
[root@db PHP]# cp etc/PHP-fpm.conf.default etc/PHP-fpm.conf
[root@db PHP]# cp etc/PHP-fpm.d/www.conf.default etc/PHP-fpm.d/www.conf
[root@db PHP]# vim PHP.ini
cgi.fix_pathinfo=0
[root@db PHP]# /usr/local/PHP/sbin/PHP-fpm
[root@db PHP]# netstat -nplt | grep 9000
[root@db ~]# vim /usr/local/Nginx/conf/Nginx.conf
server {
        listen       80;
        server_name  192.168.90.171;
        root         /webapp/html;
        #charset koi8-r;

        #access_log  logs/host.access.log  main;

        location / {
            #root   html;
            #添加index.PHP
            index  index.PHP index.html index.htm;
        }
location ~ \.PHP$ {
            root           /webapp/html;
            fastcgi_pass   127.0.0.1:9000;
            fastcgi_index  index.PHP;
            #fastcgi_param  SCRIPT_FILENAME  /scripts$fastcgi_script_name;
            fastcgi_param  SCRIPT_FILENAME  $document_root$fastcgi_script_name;
            include        fastcgi_params;
        }
[root@db ~]# vim /usr/local/Nginx/sbin/Nginx -s reload
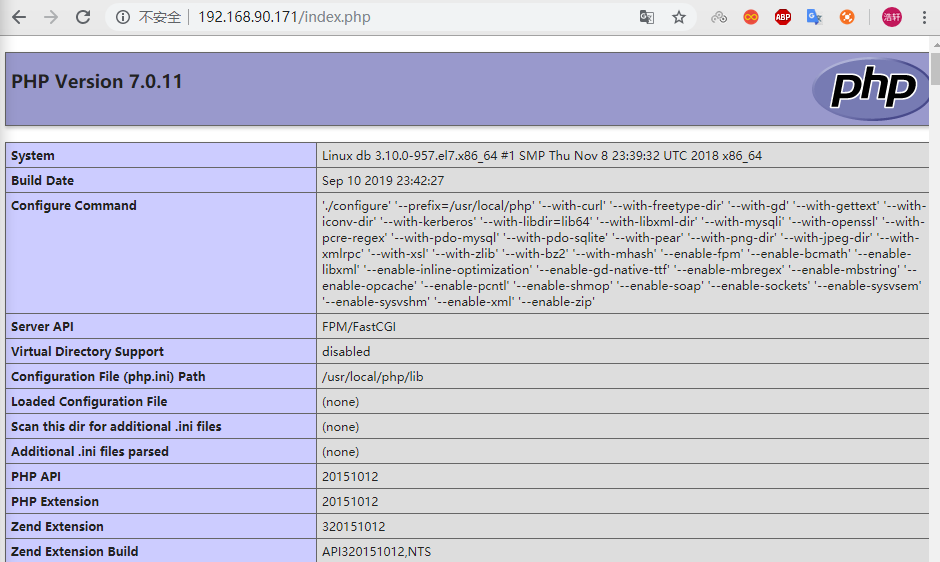
5.测试
[root@db ~]# vim /webapp/html/index.PHP
<?PHP
    PHPinfo();
?>
然后打开浏览器输入对应的地址进行访问:http://192.168.90.171/index.PHP
6.添加PHP-fpm到系统服务
[root@db ~]# kill -INT `cat /usr/local/PHP/var/run/PHP-fpm.pid`
[root@db ~]# vim /lib/systemd/system/PHP-fpm.service
[Unit]
Description=The PHP FastCGI Process Manager
After=syslog.target network.target

[Service]
Type=simple
PIDFile=/run/PHP-fpm.pid
ExecStart=/usr/local/PHP/sbin/PHP-fpm --nodaemonize --fpm-config /usr/local/PHP/etc/PHP-fpm.conf
ExecReload=/bin/kill -USR2 $MAINPID
ExecStop=/bin/kill -SIGINT $MAINPID

[Install]
WantedBy=multi-user.target
[root@db ~]# systemctl start PHP-fpm.service
[root@db ~]# systemctl enable PHP-fpm.service
MysqL5.7安装
使用MysqL Yum存储库的快速安装
1.将MysqL Yum存储库添加到系统的存储库列表中
a.访问https://dev.MysqL.com/downloads/repo/yum/上的MysqL Yum存储库下载页面 。
b.选择并下载适用于您的平台的发行包。
c.使用以下命令安装下载的发行包,替换 platform-and-version-specific-package-name 为下载的包的名称:
[root@db ~]# rpm -Uvh MysqL80-community-release-el7-3.noarch.rpm
2.选择MysqL5.7版本安装
[root@db ~]# yum repolist all | grep MysqL
[root@db ~]# yum-config-manager --disable MysqL80-community
[root@db ~]# yum-config-manager --enable MysqL57-community
[root@db ~]# yum repolist enabled | grep mysq
3.安装MysqL
[root@db ~]# yum -y install MysqL-community-server
4.启动MysqL并设置开机自启
[root@db ~]# systemctl start MysqLd.service
[root@db ~]# systemctl enable MysqLd.service
[root@db ~]# grep 'temporary password' /var/log/MysqLd.log
[root@db ~]# MysqL -u root -pG9U:=dfHK:u8
MysqL> ALTER USER 'root'@'localhost' IDENTIFIED BY 'Hl_123456';
MysqL> flush privileges;
[root@db ~]# MysqL -u root -pHl_123456
MysqL> create database test;
MysqL> use test;
MysqL> create table tb_user( id int(10) not null auto_increment primary key, username varchar(64) default '' );
MysqL> insert into tb_user (id,username) values(1,'xiaohuang');
MysqL> insert into tb_user (id,username) values(2,'xiaodong');
MysqL> exit
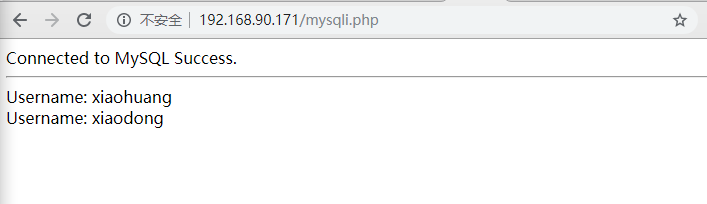
[root@db ~]# vim /webapp/html/MysqLi.PHP
<?PHP
/*
* MysqLi
* 数据库地址,登陆账号,密码,数据库名称
*/
$MysqLi = new MysqLi("127.0.0.1", "root", "Hl_123456", "test");
if($MysqLi){
echo 'Connected to MysqL Success.';
}else{
echo 'Connected to MysqL Fail.';
}
echo '<hr/>';
$sql = "SELECT * FROM tb_user";
$result = $MysqLi->query($sql);
if ($result) {
while ($row = $result->fetch_assoc()) {
echo 'Username: '.$row['username']. '<br/>';
}
}
/* free result set */
$result->free();
/* close connection */
$MysqLi->close();
?>
打开浏览器访问测试结果如下:http://192.168.90.171/MysqLi.PHP