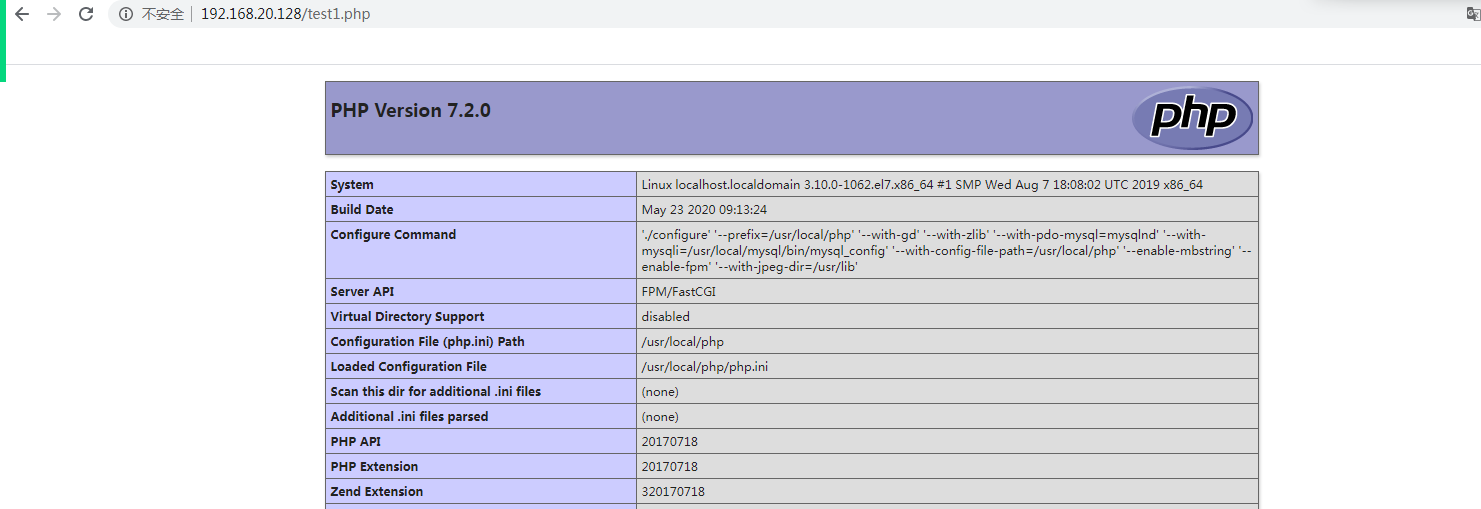
LNMP:Linux+Nginx+MySql+PHP
为了方便,我是用CetnOS7.5中的yum安装
一、配置epel源并更新系统
Yum install -y epel-release
Yum clean all && yum makecache && yum update
二、安装LNMP
Yum源中的nginx果然还是太旧了,在这里还是使用官方提供的安装方式
1、Nginx
Yum install -y yum-utils
在/etc/yum.repos.d/nginx.repo中写入
[nginx-stable]
name=nginx stable repo
baseurl=http://nginx.org/packages/centos/$releasever/$basearch/
gpgcheck=1
enabled=1
gpgkey=https://nginx.org/keys/nginx_signing.key
[nginx-mainline]
name=nginx mainline repo
baseurl=http://nginx.org/packages/mainline/centos/$releasever/$basearch/
gpgcheck=1
enabled=0
gpgkey=https://nginx.org/keys/nginx_signing.key
在这里,我使用开发版,所以输入以下命令切换到nginx-mainline
yum-config-manager --enable nginx-mainline
~~如用于生产环境,请勿使用以上命令。~~由于稳定版更新频率并不高,而开发版稳定性也有保障且更新(修复BUG)很快,因此建议使用开发版。随后安装nginx
Yum install -y nginx
curl 127.0.0.1以查看nginx是否成功安装,若成功安装则会返回类似以下文字
<!DOCTYPE html>
<html>
<head>
<title>Welcome to nginx!</title>
</head>
<body>
<h1>Welcome to nginx!</h1>
If you see this page, the nginx web server is successfully installed and
working. Further configuration is required.</p>
``
For online documentation and support please refer to
<a href="http://nginx.org/">nginx.org</a>.<br/>
Commercial support is available at
<a href="http://nginx.com/">nginx.com</a>.</p>
``
Thank you for using nginx.
</body>
</html>
``
2、MySQL
在官网找到相应源进行安装,在这里我找到的最新链接是:
Rpm -Uvh https://dev.mysql.com/get/mysql80-community-release-el7-2.noarch.rpm
之后安装MySQL,在这里我安装的版本是mysql-80-community
yum -y install mysql-community-server
如果想切换版本,可以修改/etc/yum.repos.d/mysql-community.repo
将相应版本下对应的enable值改为1并将其他版本值改为0即可
修改完成以后查看是否启用相应版本
Yum repolist enable | grep mysql
安装完成以后就可以启用并启动MySQL服务了
Systemctl start mysqld && systemctl enable mysqld
安装完成后,MySQL会在LOG文件(/var/log/mysqld.log)中生成初始密码,查看初始密码并登陆
grep 'temporary password' /var/log/mysqld.log
mysql -u root -p
修改密码
Alter user 'root'@'localhost' identified with mysql_native_password by '新密码’;
由于MySQL默认的密码规则太烦人,我在此处稍作修改,降低了密码要求
set global validate_password_policy=0;
更多密码规则可以通过以下命令查看,并按以上格式修改密码规则
show variables like 'validate_password%';
*注意,MySQL5.7和80的Variable_name不同,和我版本不同的同学请自行查看并修改命令
随后开启MySQL远程访问权限
3、PHP
rpm -Uvh <https://mirror.webtatic.com/yum/el7/webtatic-release.rpm>
安装PHP7
yum install php70w.x86_64 php70w-cli.x86_64 php70w-common.x86_64 php70w-gd.x86_64 php70w-ldap.x86_64 php70w-mbstring.x86_64 php70w-mcrypt.x86_64 php70w-mysql.x86_64 php70w-pdo.x86_64
安装并启用php-fpm
yum install php70w-fpm php70w-opcache
systemctl start php-fpm && systemctl enable php-fpm
修改/etc/nginx/conf.d/default.conf,将PHP部分注释去掉并修改
重启Nginx生效
下载相应源码包
wget http://am1.php.net/distributions/php-7.3.2.tar.gz
解压并进入目录后编译
./configure --prefix=/usr/local/php --with-fpm-user=nginx --with-fpm-group=nginx --with-curl --with-freetype-dir --with-gd --with-gettext --with-iconv-dir --with-kerberos --with-libdir=lib64 --with-libxml-dir --with-mysqli --with-openssl --with-pcre-regex --with-pdo-mysql --with-pdo-sqlite --with-pear --with-png-dir --with-jpeg-dir --with-xmlrpc --with-xsl --with-zlib --with-bz2 --with-mhash --enable-fpm --enable-bcmath --enable-libxml --enable-inline-optimization --enable-mbregex --enable-mbstring --enable-opcache --enable-pcntl --enable-shmop --enable-soap --enable-sockets --enable-sysvsem --enable-sysvshm --enable-xml --enable-zip --enable-fpm
Make && make install
//也可以用官方给的方式安装最新版PHP
wget https://dl.fedoraproject.org/pub/epel/epel-release-latest-7.noarch.rpm
wget http://rpms.remirepo.net/enterprise/remi-release-7.rpm
rpm -Uvh remi-release-7.rpm epel-release-latest-7.noarch.rpm
yum install yum-utils
yum-config-manager --enable remi-php73
yum install php php-common php-opcache php-mcrypt php-cli php-gd php-curl php-mysqlnd
最后,要修改Nginx配置文件中的这两行:
index index.php index.html index.htm;
fastcgi_param SCRIPT_FILENAME $document_root$fastcgi_script_name;
三、安装word press
从官网下载压缩包并解压到网站根目录并跟着教程走即可。但是有几个需要注意的地方:
1、 MYSQL8.0的密码验证方式从mysql_native_password改为了caching_sha2_password,所以要在MySQL配置文件my.cnf中设置:
default_authentication_plugin=mysql_native_password
并修改密码:
use mysql;
ALTER USER 'root'@'localhost' IDENTIFIED WITH mysql_native_password BY '密码';
FLUSH PRIVILEGES;
2、 在Nginx和PHP中可能存在上传大小限制,请自行百度解决。

 本篇内容介绍了“LNMP服务器环境配置实例分析”的有关知识,...
 本篇内容主要讲解“OneinStack如何一键安装LNMP”,感兴趣的...
 1.源码安装mysql鉴于前边的文章已经详细说过mysql的源码安装...
 ██【電:131.乀.1418.乀.6667】【薇q:9788....