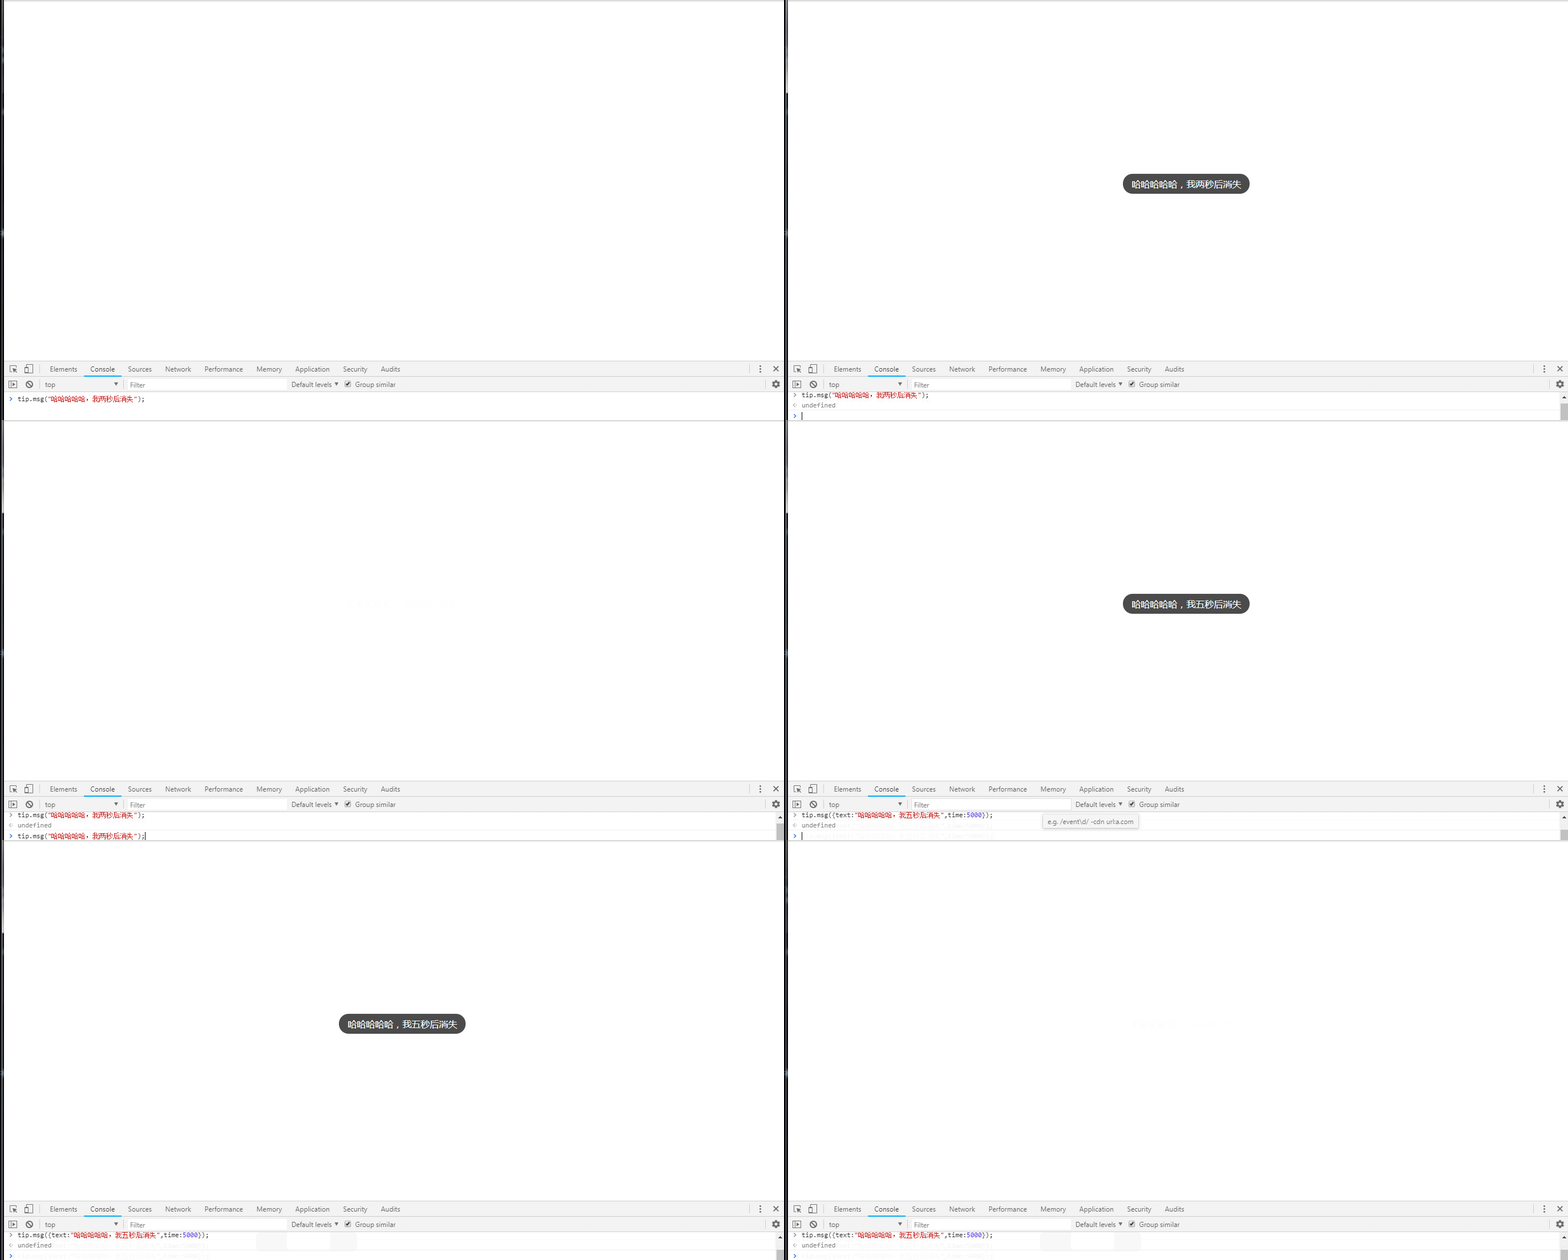
下面分享一个js 弹出窗,分 toast,dialog,load 三种弹窗,下面用js css 来实现以下: 首先是js代码 | 采用了 es6 的写法
constructor(type = DIALOG_DIALOG,dialogContent = '请求失败',wrapClassName = 'common-dialog-wrap',dialogWrapClassName = 'common-dialog-content-wrap',contentClassName = 'common-dialog-content',btnClassName = 'common-btn',btnContent = '确定') {
this.type = type;
//吐司
if (type == DIALOG_TOAST) {
this.dialog = document.createElement('div');
this.dialog.className = 'common-toast';
this.dialog.innerHTML = dialogContent;
}
//加载动画
else if (type == DIALOG_LOAD) {
this.dialog = document.createElement('div');
this.dialog.className = wrapClassName;
this.figure = document.createElement('figure');
this.figure.className = 'common-loadGif';
this.img = document.createElement('img');
this.img.src = getAbsolutePath() + '/fenqihui/static/bitmap/travel/loadgif.gif';
this.figure.appendChild(this.img);
this.dialog.appendChild(this.figure);
} else if (type == DIALOG_DIALOG) {
this.dialog = document.createElement('div');
this.dialog.className = wrapClassName;
this.dialogWrap = document.createElement('div');
this.dialogWrap.className = dialogWrapClassName;
this.conetent = document.createElement('p');
this.conetent.innerHTML = dialogContent;
this.conetent.className = contentClassName;
this.confirmButton = document.createElement('p');
this.confirmButton.innerHTML = btnContent;
this.confirmButton.className = btnClassName;
this.dialogWrap.appendChild(this.conetent);
this.dialogWrap.appendChild(this.confirmButton);
this.dialog.appendChild(this.dialogWrap);
this.bindEvent();
}
}
bindEvent() {
this.confirmButton.addEventListener('click',()=> {
this.hide();
})
}
show(time) {
document.querySelector('body').appendChild(this.dialog);
$(this.dialog).css('display','block');
if (this.type == DIALOG_TOAST) {
setTimeout(()=> {
$(this.dialog).css('display','none');
},time);
}
}
hide() {
$(this.dialog).css('display','none');
}
}
css 文件如下:
.common-dialog-content {
height: 2rem;
border-bottom: 1px solid #ccc7c7;
line-height: 2rem;
text-align: center;
font-size: .65rem;
}
.common-btn {
text-align: center;
height: 2rem;
color: orange;
line-height: 2rem;
}
.common-dialog-content-wrap{
background: #fff;
width: 10rem;
height: 4rem;
border-radius: 5px;
position: fixed;
left: 0;
top:0;
right: 0;
bottom: 0;
margin: auto;
}
/吐司样式/
.common-toast{
height: 1.6rem;
width: 4rem;
Box-sizing: content-Box;
color: #fff;
padding: 0 10px;
position: fixed;
left: 0;
top:0;
bottom: 0;
right: 0;
text-align: center;
line-height: 1.6rem;
margin: auto;
background: rgba(0,.7);
border-radius: 2rem;
}
.common-loadGif{
height: 4rem;
width: 4rem;
position: fixed;
top:0;
left: 0;
bottom: 0;
right: 0;
margin: auto;
}
.common-loadGif img{
height: 100%;
width: 100%;
border-radius: 10px;
}
使用方式
效果如下


