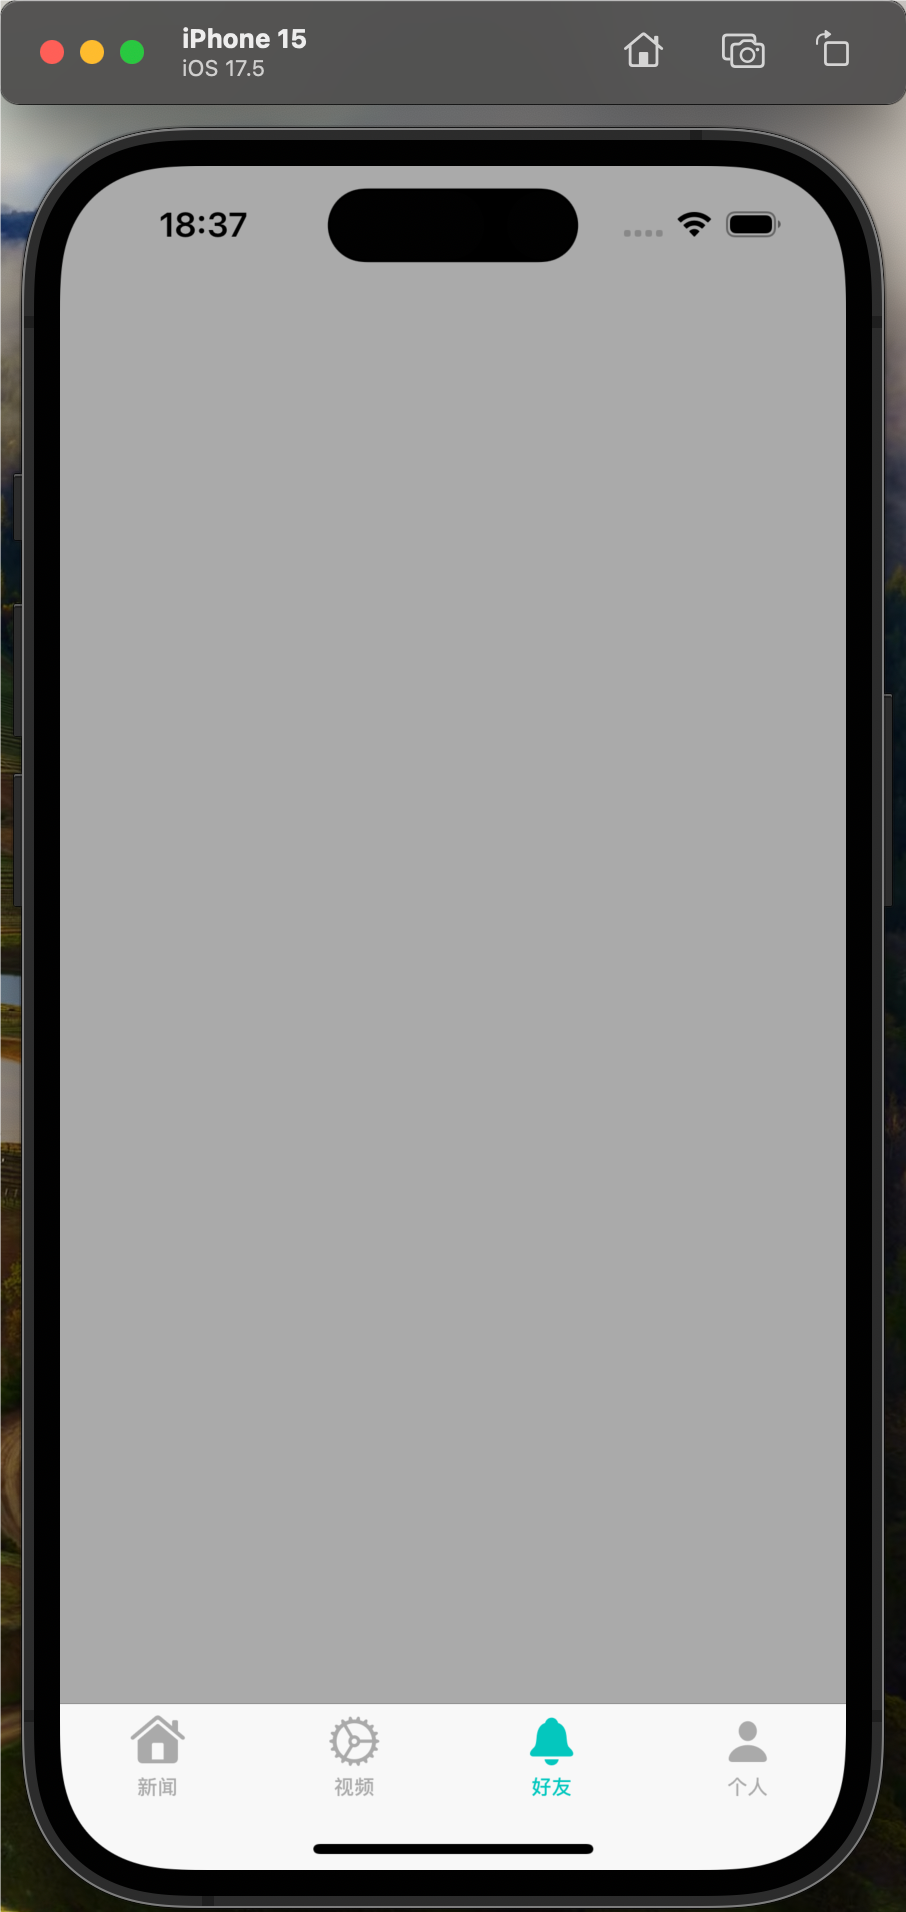
方法一:
原生态,Command-Shift-3 直接把整个桌面作为 PNG 格式保存
Command-Shift-4功能类似,但可以自由圈定范围了 。Ctrl+Command-Shift-3. 可以控制文件保存的位置,但格式变化不了
方法二:
grab,自带的一个程序,较灵活,支持4个方式选择图形,文件自由保存到任何位置。
Xcode’s Organizer 工具提供一个简单的接口可以抓取真机上的截图,类似Android的那个插件一样, 打开方式如下:打开Xcode’s Window 菜单 ,选择 Organizer或则用快捷键Ctrl-Command-O. 然后选择device tab,就可以看到链接到mac的 真机上的画面,iphone 或ipad。
方法四:
这个方法有些tricky,长按home按钮,同时按下上方的sleep按钮,最大程度组合了两个hard keys.
方法五:
用程序来抓取,特定的 view
The second method, saveScreenshottoPhotosAlbum,takes it a step further and saves an image that contains a render of any UIView to your iPhone’s photo album.
- (UIImage*) getGLScreenshot {
    NSInteger myDataLength = 320 * 480 * 4;

    // allocate array and read pixels into it.
    glubyte *buffer = (glubyte *) malloc(myDataLength);
    glreadPixels(0,320,480,GL_RGBA,GL_UNSIGNED_BYTE,buffer);

    // gl renders "upside down" so swap top to bottom into new array.
    // there's gotta be a better way,but this works.
    glubyte *buffer2 = (glubyte *) malloc(myDataLength);
    for(int y = 0; y <480; y++)
    {
        for(int x = 0; x <320 * 4; x++)
        {
            buffer2[(479 - y) * 320 * 4 + x] = buffer[y * 4 * 320 + x];
        }
    }

    // make data provider with data.
    CGDataProviderRef provider = CGDataProviderCreateWithData(NULL,buffer2,myDataLength,NULL);

    // prep the ingredients
    int bitsPerComponent = 8;
    int bitsPerPixel = 32;
    int bytesPerRow = 4 * 320;
    CGColorSpaceRef colorSpaceRef = CGColorSpaceCreateDeviceRGB();
    CGBitmapInfo bitmapInfo = kCGBitmapByteOrderDefault;
    CGColorRenderingIntent renderingIntent = kCGRenderingIntentDefault;

    // make the cgimage
    CGImageRef imageRef = CGImageCreate(320,bitsPerComponent,bitsPerPixel,bytesPerRow,colorSpaceRef,bitmapInfo,provider,NULL,NO,renderingIntent);

    // then make the uiimage from that
    UIImage *myImage = [UIImage imageWithCGImage:imageRef];
    return myImage;
}

- (void)saveGLScreenshottoPhotosAlbum {
	UIImageWritetoSavedPhotosAlbum([self getGLScreenshot],nil,nil);
}
上面的第二段代码就支持eagalview了。
可以通过程序来控制什么时候保留一个操作画面截图,在某些软件中说不定会有用的 。。。。。。
方法六:
iPhone-Simulator Cropper
This tool works by capturing the screen of the simulator runnning on your system. One really slick feature is the option to create captured images in two primary formats – first,a format suitable for upload to iTunes for your application screenshots – second,capturing a screenshot that is suitable for display on a website.
The following images show the iPhone-Simulator Cropper application,as well as two sample images captured:

iTunes Connect / App Store:

Website (iPhone Device from Apple Marketing):


