在程序体积变得越来越大的时候,如果还是在单一脚本中编写,就会显得很不方便。
于是需要对程序进行结构上的拆分。Flask并不强制要求使用特定的组织方式,开发者可以自行决定。
7.1 项目结构
|-flasky
|-app/
|-__init__.py
|-email.py
|-models.py
|-templates/
|-static/
|-main/
|-errors.py
|-forms.py
|-views.py
|-migrations/
|-tests/
|-.py
|-test*.py
|-venv
|-requirements.txt
|-config.py
|-manage.py
我们要关心的是以下3个文件夹:
- Flask程序保存在名为app的包中
- migrations文件夹包含数据库迁移脚本
- tests包里面是单元测试脚本
还有一些新文件:
- requirements.txt 该文件列出了所有信赖包,方便在其它电脑中生成同样的需求环境
- config.py 配置文件
- manage.py 用于启动程序以及其它的程序任务
7.2 配置选项
本例中设置了开发、测试、部署这三种不同环境下的配置。并设置了一个默认的配置:开发环境
config.py 配置文件
import os
basedir = os.path.abspath(os.path.dirname(__file__))

class Config:
    SECRET_KEY = os.environ.get('SECRET_KEY') or your string'
    SQLALCHEMY_COMMIT_ON_TEARDOWN = True
    FLASKY_MAIL_SUBJECT_PREFIX = [Flasky]
    FLASKY_MAIL_SENDER = youremail@example.com
    FLASKY_ADMIN = os.environ.get(FLASKY_ADMIN)

    @staticmethod
    def init_app(app):
        pass

 DevelopmentConfig(Config):
    DEBUG = True
    MAIL_SERVER = smtp.sina.com
    AMIL_PORT = 25
    MAIL_USE_TLS = True
    MAIL_USERNAME = os.environ.get(MAIL_USERNAME)
    MAIL_PASSWORD = os.environ.get(MAIL_PASSWORD)
    SQLALCHEMY_DATABASE_URI = os.environ.get(DEV_DATABASE_URLsqlite:///' + os.path.join(basedir,data-dev.sqlite)

 TestingConfig(Config):
    TESTING = True
    SQLALCHEMY_DATABASE_URI = os.environ.get(TEST_DATABASE_URLdata-test.sqlite ProductionConfig(Config):
    SQLALCHEMY_DATABASE_URI = os.environ.get(DATABASE_URLdata.sqlite)

config = {
    development: DevelopmentConfig,testing: TestingConfig,1)">production: ProductionConfig,1)">default: DevelopmentConfig
}
程序为不同的环境选择了不同的数据库。
7.3 程序包
程序包即app文件夹,保存了程序的所有代码、模板、静态文件。
7.3.1 使用程序工厂函数
程序的工厂函数为修改程序实例的配置提供了可能。
在单一文件开发中,程序配置是写好的,在运行时程序实例已经创建,无法再修改配置。而使用工厂函数,则使得可以为开发、测试、部署等不同需要使用不同的配置以运行程序。
app/___init___.py 程序包的构造文件
from flask  Flask,render_template
from flask_bootstrap  Bootstrap
from flask_mail  Mail
from flask_moment  Moment
from flask_sqlalchemy  SQLAlchemy
from config  config

bootstrap = Bootstrap()
mail = Mail()
moment = Moment()
db = SQLAlchemy()

 create_app(config_name):
    app =  Flask(__name__)
    app.config.from_object(config[config_name])
    config[config_name].init_app(app)

    bootstrap.init__app(app)
    mail.init__app(app)
    moment.init__app(app)
    db.init__app(app)

    return app
7.3.2 使用蓝本(Blueprint)
对于新手而言,蓝本这东西显得有些难以理解。蓝本主要用于定义路由。
在单脚本程序中,程序实例存在于全局作用域中,路由可以直接使用app.route修饰器定义,但现在程序在运行时才创建,就只有在调用了工厂函数中的create_app()后才能使用app.route修饰器,但这时再定义路由就太是了。同样的,由于错误页面使用app.errorhandler修饰器定义,因此错误页面的定义也会遇到问题。蓝图就可以解决这些问题。
蓝本中的路由需要在蓝本注册到程序上后,路由才能真正成为程序的一部分以供执行。 本书中,在程序中创建了一个包main用于保存蓝本,可以理解为,这个蓝本的名字就是main
app/main/___init___.py 创建蓝本
 Blueprint

main = Blueprint(main',1)">from . import views,errors
实例化一个Blueprint类对象可以创建蓝本,有两个必须指定的参数:蓝本的名字和蓝本所在的包或模块。通常第二个参数使用__name__变量即可。 程序的路由保存在app/main/views.py模块中,错误处理程序保存在app/main/errors.py中。需要导入这两个模块以与蓝本关联。但些处在末尾导入,是为了避免循环导入,因为在views.py和errors.py中还要导入蓝本main
app/___init___.py 注册蓝本
 create_app(config_name):
    # 之前的内容
    from .main  main as main_blueprint
    app.register_blueprint(main_blueprint)

    return app
app/main/errors.py 蓝本中的错误处理程序
render_template main @main.app_errorhandler(404) page_not_found(e): return render_template(404.htm'),404 @main.app_errorhandler(500 internal_server_error(e): 500.htmlfrom datetime datetime render_template,session,redirect,url_for main from .forms NameForm from .. db from ..models User @main.route(/GETPOST]) index(): form = NameForm() if form.validate_on_submit(): 前面的内容 return redirect(url_for(.index)) index.htmlnameknowndb 定义Role和User模型 # 也就是定义这两个表 Role(db.Model): __tablename__ = roles id = db.Column(db.Integer,primary_key=True) name = db.Column(db.String(64),unique=True) users = db.relationship(Userroledynamic) def __repr__(self): return <Role %r>' % self.name User(db.Model): users True) username = db.Column(db.String(64),unique=True,index=True) role_id = db.Column(db.Integer,db.ForeignKey(roles.id)) <User %r>' % self.username
app/email.py 电子邮件支持函数文件
from threading  Thread
 current_app,1)"> Message
 mail

 异步发送电子邮件的函数
 send_async_email(app,msg):
    with app.app_context():
        mail.send(msg)

def send_email(to,subject,template,**kwargs):
    msg = Message(app.config[FLASKY_MAIL_SUBJECT_PREFIX'] + subject,sender=app.config[FLASKY_MAIL_SENDER'],recipients=[to])
    msg.body = render_template(template + .txtkwargs)
    msg.html = render_template(template + .htmlkwargs)
    thr = Thread(target=send_async_email,args=[app,msg])
    thr.start()
    return thr
app/main/forms.py 表单对象文件
from flask_wtf  Form
from wtforms  StringField,SubmitField
from wtforms.validators  Required

 NameForm(Form):
    name = StringField(What is your name?[Required()])
    submit = SubmitField(Submit')
其它的模板文件,也要放进template文件夹中:
template/
├── 404.html
├── 500.html
├── base.html
├── index.html
├── mail
│ ├── new_user.html
│ └── new_user.txt
└── user.html
7.4 启动脚本
manage.py 启动脚本
!/usr/bin/env python

 os
from app  create_app,db
from app.models  User,Role
from flask_script  Manager,Shell
from flask_migrate improt Migrate,MigrateCommand

app = create_app(os.getenv(FLASK_CONFIG)
manager = Manager(app)
migrate = Migrate(app,db)

 make_shell_context():
    return dict(app=app,db=db,User=User,Role=Role)

manager.add_command("shell",Shell(make_context=make_shell_context))
manager.add_command(db",MigrateCommand)

if __name__ == __main__:
    manager.run()
应该知道的是,整个程序,到这里的app = create_app()一行才创建程序,传入一个环境变量作为配置名或使用默认配置。
7.5 需求文件
程序中应当包含一个requirements.txt文件,用于记录所有依赖包及其精确的版本号,以使程序可以更好地平移到其它系统中。这个需求文件可以使用pip命令生成:
(venv) $ pip freeze > requirements.txt
在安装(使用)了新的包或升级包之后,最好要更新这个文件。这个文件在我运行这个程序时内容如下:
alembic==0.8.8
blinker==1.4
click==6.6
decorator==4.0.10
dominate==2.2.1
Flask==0.11.1
Flask-Bootstrap==3.3.7.0
Flask-Mail==0.9.1
Flask-Migrate==2.0.0
Flask-Moment==0.5.1
Flask-Script==2.0.5
Flask-SQLAlchemy==2.1
Flask-WTF==0.12
ipython==5.1.0
ipython-genutils==0.1.0
itsdangerous==0.24
Jinja2==2.8
Mako==1.0.4
MarkupSafe==0.23
pexpect==4.2.1
pickleshare==0.7.4
prompt-toolkit==1.0.7
ptyprocess==0.5.1
Pygments==2.1.3
python-editor==1.0.1
simplegeneric==0.8.1
six==1.10.0
SQLAlchemy==1.0.15
traitlets==4.3.0
visitor==0.1.3
wcwidth==0.1.7
Werkzeug==0.11.11
WTForms==2.1
当要在新的环境下安装这些包以产生完全相同的虚拟环境时,可以使用以下命令:
(venv) $ pip install -r requirements.txt
7.6 单元测试
tests/test_basics.py
 unittest

 current_app
 BasicsTestCase(unittest.TestCase):
     setUp(self):
        self.app = create_app()
        self.app_context = self.app.app_context()
        self.app_context.push()
        db.create_all()

     tearDown(self):
        db.session.remove()
        db.drop_all()
        self.app_context.pop()

     test_app_exists(self):
        self.assertFalse(current_app is None)

     test_app_is_testing(self):
        self.assertTrue(current_app.config[TESTING'])
这个测试使用了标准库中的unittest。setUp()和tearDown()方法分别在各测试前后运行,名字以test_开头的函数都作为测试进行。
setUp()方法创建一个测试环境,类似运行中的程序。然后创建程序、激活上下文、创建数据库,这些上下文和数据库都会在tearDown()方法中删除。
第一个测试确保程序实例存在,第二个测试确保程序在测试配置中运行
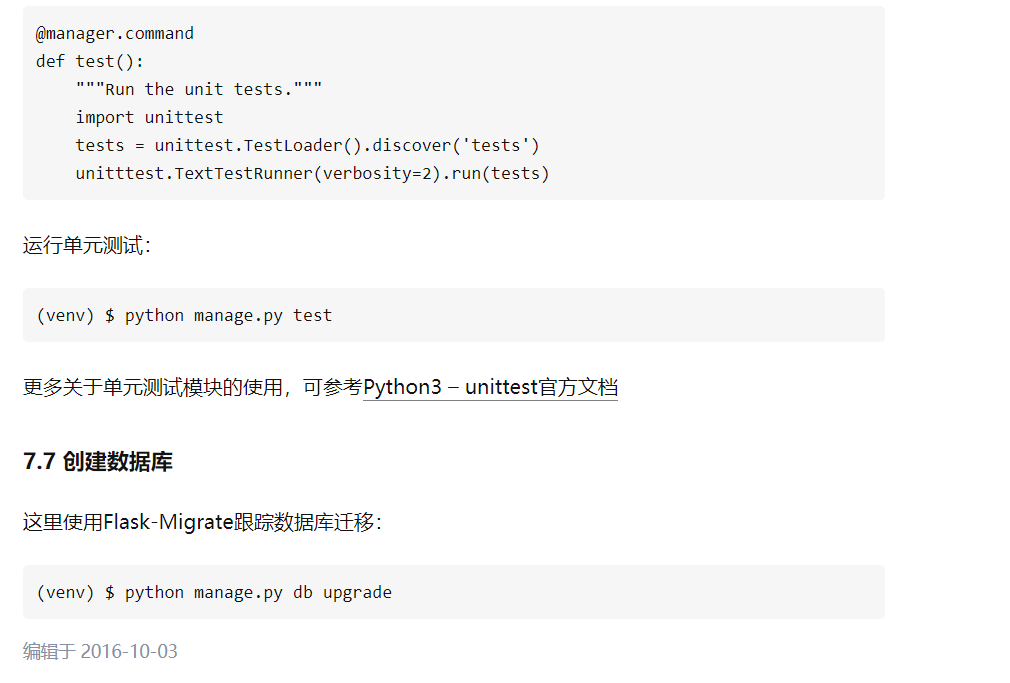
为了运行单元测试,还需要在manage.py脚本中添加一一个自定义命令:
 Jinja2:是Python的Web项目中被广泛应用的模板引擎,是由Pyt...
 Fullcalendar日历使用,包括视图选择、事件插入、编辑事件、...
 监听QQ消息并不需要我们写代码,因为市面上已经有很多开源QQ...
 python+web+flask轻量级框架的实战小项目。登录功能,后续功...
 有了这个就可以配置可信IP,关键是不需要企业认证,个人信息...