问题描述
我的愿望是制作居中图像(左侧)并在其旁边(右侧)添加标签。
在不设置图像的情况下,标题标签居中对齐:
CUDA 
然后我添加了以下代码以添加图像:
Tensroflow,这就是我得到的:
,所以标题不见了。
也许问题在于图像使用的空间比其实际大小更多(该大小不应占用比图标大小更多的宽度和高度)。我在更改图片背景时看到了这一点(应该是很多灰色):
import tensorflow as tf
import time

batch=10
cni=600
cno=600
cd=20
n=1000

W=tf.random.uniform([1,cni*cd,cno*cd])
V=tf.random.uniform([batch,cni*cd])

Wb=tf.reshape(W,[cni,cno,cd,cd])
V1=tf.reshape(V,[batch,cni,cd])
start = time.time()
for i in range(n):
  Vb = tf.einsum("ijkl,bil->bijk",Wb,V1)
print("%.3f secs"%(time.time()-start))
# it takes 3.894 secs

Wa=tf.tile(W,1,1])
start = time.time()
for i in range(n):
  Va = tf.linalg.matvec(Wa,V,transpose_a=True)
print("%.3f secs"%(time.time()-start))
# it takes 1.849 secs

我尝试使用Debug.Print IE.LocationName; IE.LocationURL
Set Buttons = htmlDoc.getElementById("application-DataMigration-manage-component---TaskOverviewDetail--idTaskOverviewDetail--idTableDetail-trigger")
Buttons.Click <----doesn't work
Buttons.Children(0).Click <----doesn't work
Buttons.FireEvent "onclick" <----doesn't work
htmlDoc.querySelector("#application-DataMigration-manage-component---TaskOverviewDetail--idTaskOverviewDetail--idTableDetail-trigger div").Click <----doesn't work
,但很难计算出它完全适合每部iPhone。
这是按钮的const columns = [
{ title: "Name",field: "name" },{
title: "Surname",field: "surname",editComponent: (props) => (
<TextField
multiline
size="small"
variant="outlined"
value={props.value}
rowsMax={4}
onChange={(e) => props.onChange(e.target.value)}
/>
),render: (rowData) => (
<TextField
multiline
size="small"
variant="outlined"
value={rowData.surname}
rowsMax={4}
/>
)
},{
title: "Birth Year",field: "birthYear",type: "numeric",editable: "never"
},{
title: "Birth Place",field: "birthCity",editable: "never",lookup: { 34: "İstanbul",63: "Şanlıurfa" }
}
];
:

解决方法
默认情况下,您无法一次设置标题和图像,也无法按照您的描述放置它们。
如果您需要一个UIButton,建议您制作一个UIView(或者可能是水平的UIStackView),并在其中放置UIImage和UILabel,并使用自动布局将其放置,然后可以将此视图作为子视图添加到UIButton。 / p>
Ex...
------------
| Lot #    |
------------
|    1     |
|   10     |
|   11     |
|   12     |
|    2     |
|    3     |
|    4     |
|    5     |
|    6     |
|    7     |
|    8     |
|    9     |
------------
通过这种方法,您将能够轻松定位所有尺寸的视图,但是您可能希望在真实的文字应用中使用自动布局,而不是硬编码框架。
示例:
let button = UIButton(type: .custom)
button.frame = viewFrame // This is the desired frame of your custom UIView or UIStackView
button.addSubview(customView)
按如下所示在控制器类下设置按钮:
let imageButton: UIButton = {
    let b = UIButton(type: .custom)
    b.backgroundColor = #colorLiteral(red: 0.3411764801,green: 0.6235294342,blue: 0.1686274558,alpha: 1)
    b.layer.cornerRadius = 12
    b.clipsToBounds = true
    b.translatesAutoresizingMaskIntoConstraints = false
    let imageV = UIImageView()
    imageV.image = UIImage(named: "yourImage")?.withRenderingMode(.alwaysTemplate)
    imageV.tintColor = .white
    imageV.contentMode = .scaleAspectFill
    imageV.translatesAutoresizingMaskIntoConstraints = false
    imageV.widthAnchor.constraint(equalToConstant: 30).isActive = true

    let label = UILabel()
    label.text = "WhatsApp"
    label.textColor = .white
    label.font = .systemFont(ofSize: 16,weight: .regular)

    let stack = UIStackView(arrangedSubviews: [imageV,label])
    stack.distribution = .fill
    stack.spacing = 4
    stack.axis = .horizontal
    stack.translatesAutoresizingMaskIntoConstraints = false

    b.addSubview(stack)
    stack.heightAnchor.constraint(equalToConstant: 30).isActive = true
    stack.widthAnchor.constraint(equalToConstant: 120).isActive = true
    stack.centerXAnchor.constraint(equalTo: b.centerXAnchor).isActive = true
    stack.centerYAnchor.constraint(equalTo: b.centerYAnchor).isActive = true

    return b
}()
现在在viewDidLoad中添加按钮并在视图中设置约束(在我的情况下位于顶部)
view.addSubview(imageButton)
imageButton.topAnchor.constraint(equalTo: view.safeAreaLayoutGuide.topAnchor,constant: 20).isActive = true
imageButton.heightAnchor.constraint(equalToConstant: 50).isActive = true
imageButton.widthAnchor.constraint(equalToConstant: 200).isActive = true
imageButton.centerXAnchor.constraint(equalTo: view.centerXAnchor).isActive = true
这是结果:

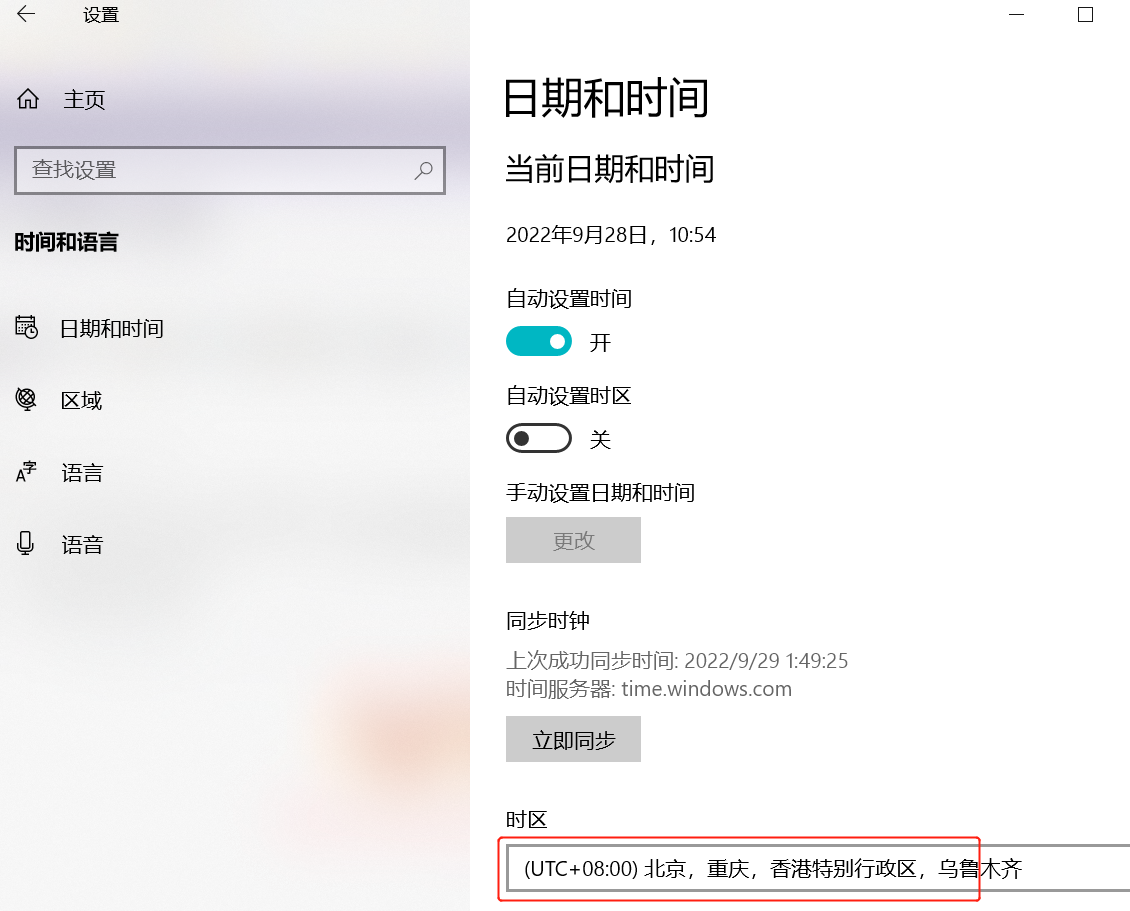 设置时间 控制面板
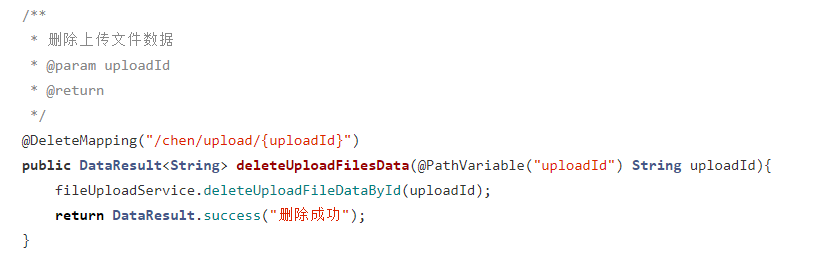 错误1:Request method ‘DELETE‘ not supported 错误还原:...