下载testlink
访问官网: http://www.testlink.org/ , 点击 Get it from sourceforge,会自动下载testlink包。
查看安装要求
每个版本的testlink对相关软件版本号要求不一样,所以需要自己去查看testlink主目录下面的README.md文件。未按照要求来配置,会导致最后的安装步骤失败,譬如建数据库建表等操作就对数据库版本有要求。
我的版本是:1.9.17,相应的系统要求就是这样子的:
System Requirements - server
Server environment should consist of:
- web-server: Apache 2.x - PHP > 5.5
- DBMS: MySQL 5.6.x / MariaDB 10.1.x,Postgres 9.x,MS-SQL 2008/2012
Supported client web-browsers:
- Firefox - Internet Explorer 9.x or greater - Chrome
拷贝安装包到centos服务器上
1. 使用xshell+xftp上传安装包
2. tar命令解压,重命名文件夹为testlink
下一步就准备搭建环境 PHP + Apache + Mysql +Testlink
安装apache 2.x
1.先检查一下服务器上是否有安装了apache,如果Server version: Apache/2.x.x就可以跳过此步骤
httpd -v
使用yum安装apache:
yum install httpd
查看apache的配置文件httpd.conf
sudo find / -name httpd.conf
编辑配置文件httpd.conf
Listen  #端口号设置
DocumentRoot #记住这个目录
DirectoryIndex #添加index.php
启动httpd服务,目录结构有可能不同。
/usr/sbin/httpd -k start
拷贝testlink文件夹到 DocumentRoot 目录下。并新建testlink相关目录,赋予权限
chmod 777 /var/www/html/testlink/gui/templates_c
mkdir -p /var/testlink/logs/
mkdir -p /var/testlink/upload_area/
chmod 777 /var/testlink/logs/
chmod 777 /var/testlink/upload_area/
编辑testlink文件夹下的config.inc.php(避免登录后总提示安全问题)
$tlCfg->config_check_warning_mode = ‘SILENT‘;
安装php
php版本号挺多的,centos下面的php版本号一般是5.3.x,根据自己的版本号决定要不要升级。查看版本号
php -V
升级php版本号
1.卸载原有的php版本
2.查看是否清理干净
yum list installed | grep php
3.安装高版本的php,譬如7.0版本。。试过用增加yum仓库源来升级,但是由于仓库保护,yum升级一直失败。
sudo apt-get install -y php7.0 php7.0-mysql php7.0-fpm php7.0-curl php7.0-xml php7.0-mcrypt php7.0-json php7.0-gd php7.0-mbstring php7.0-zip php-mongodb php-memcached php-redis
4.安装php-mysql
接下来,修改PHP.INI文件。根据README.md的提示,需要改两个配置:
max_input_vars = 1000 //加大数值
memory_limit = 128M //增大一倍
另外,max_execution_time 这个时间也建议修改一下,换成了120
安装mysql
查看版本是否满足,如果满足,可以跳过此步骤。 不满足,需要自己重新安装mysql。
查看版本
mysql -V
安装mysql
yum install -y mysql-server mysql mysql-deve
mysql安装完成后,需要配置my.cnf文件,例如想改数据库存放地址和开机自启动选项。初始化mysql的root密码:
sudo mysqladmin -u root password ‘*****‘
安装testlink
本地浏览器访问http://host:port/testlink,进入安装界面,安装过程需要经历以下几个步骤。
- Acceptance of License //直接点同意,进入下一步
- Verification of System and configuration requirements
//检查环境是否配好,注意PHP version,Checking MySQL Database, Read/write permissions
Your system is prepared for TestLink configuration (no fatal problem found). 有这个提示,就说明没有问题了,如果有fatal error,需要自己去逐一排查。
- Definition of DB access //使用root账号访问mysql数据库,testlink账户用admin就行
- Create DB,testlink DB user,structures and default data & create configuration file. //需要创建testlink数据库,以及相关表。
- Verify the procedure result and continue to TestLink login. //新建数据库成功后,还提示让我添加一个什么文件,文件内容已经给出了,在testlink下面新建一个文件即可
这几个步骤完成后,再去访问http://host:port/testlink,就能出现登录页面,登录账号就是第3步的admin账号。
登录完成后,需要创建产品,用户。分配用户角色,设置语言等。可以自行搜索教程。
希望大家都能安装成功!
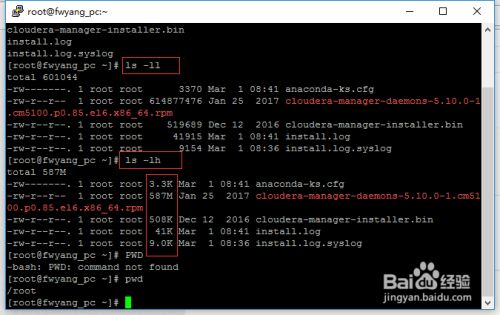 最简单的查看方法可以使用ls -ll、ls-lh命令进行查看,当使用...