参考:
Java并发编程的艺术
JDK版本:AdoptOpenJDK 11.0.2+9
1 概念
CountDownLatch允许一个或者多个线程去等待其他线程完成操作。
CountDownLatch接收一个int型参数,表示要等待的工作线程的个数。
当然也不一定是多线程,在单线程中可以用这个int型参数表示多个操作步骤。
2 方法
CountDownLatch 提供了一些方法:
| 方法 | 说明 |
|---|---|
await() |
使当前线程进入同步队列进行等待,直到latch的值被减到0或者当前线程被中断,当前线程就会被唤醒。 |
await(long timeout,TimeUnit unit) |
带超时时间的await()。 |
countDown() |
使latch的值减1,如果减到了0,则会唤醒所有等待在这个latch上的线程。 |
getCount() |
获得latch的数值。 |
3 例子
下面代码演示2个等待线程通过CountDownLatch去等待3个工作线程完成操作:
public class CountDownLatchTest {

    public static void main(String[] args) throws InterruptedException {
        // 让2个线程去等待3个三个工作线程执行完成
        CountDownLatch c = new CountDownLatch(3);

        // 2 个等待线程
        WaitThread waitThread1 = new WaitThread("wait-thread-1", c);
        WaitThread waitThread2 = new WaitThread("wait-thread-2", c);

        // 3个工作线程
        Worker worker1 = new Worker("worker-thread-1", c);
        Worker worker2 = new Worker("worker-thread-2", c);
        Worker worker3 = new Worker("worker-thread-3", c);

        // 启动所有线程
        waitThread1.start();
        waitThread2.start();
        Thread.sleep(1000);
        worker1.start();
        worker2.start();
        worker3.start();
    }
}

/**
 * 等待线程
 */
class WaitThread extends Thread {

    private String name;
    private CountDownLatch c;

    public WaitThread(String name, CountDownLatch c) {
        this.name = name;
        this.c = c;
    }

    @Override
    public void run() {
        try {
            // 等待
            System.out.println(this.name + " wait...");
            c.await();
            System.out.println(this.name + " continue running...");
        } catch (InterruptedException e) {
            e.printStackTrace();
        }
    }
}

/**
 * 工作线程
 */
class Worker extends Thread {

    private String name;
    private CountDownLatch c;

    public Worker(String name, CountDownLatch c) {
        this.name = name;
        this.c = c;
    }

    @Override
    public void run() {
        System.out.println(this.name + " is running...");
        try {
            Thread.sleep(2);
        } catch (InterruptedException e) {
            e.printStackTrace();
        }
        System.out.println(this.name + " is end.");
        c.countDown();
    }
}
运行结果:
wait-thread-1 wait...
wait-thread-2 wait...
worker-thread-3 is running...
worker-thread-2 is running...
worker-thread-1 is running...
worker-thread-1 is end.
worker-thread-3 is end.
worker-thread-2 is end.
wait-thread-1 continue running...
wait-thread-2 continue running...

Process finished with exit code 0
4 源码解析
4.1 Sync 内部类
CountDownLatch通过内部类Sync来实现同步语义。
Sync继承AQS,源码如下:
    private static final class Sync extends AbstractQueuedSynchronizer {
        private static final long serialVersionUID = 4982264981922014374L;

        // 设置同步状态的值
        Sync(int count) {
            setState(count);
        }

        // 获取同步状态的值
        int getCount() {
            return getState();
        }

        // 尝试获取同步状态,只有同步状态的值为0的时候才成功
        protected int tryAcquireShared(int acquires) {
            return (getState() == 0) ? 1 : -1;
        }

        // 尝试释放同步状态,每次释放通过CAS将同步状态的值减1
        protected boolean tryReleaseShared(int releases) {
            // Decrement count; signal when transition to zero
            for (;;) {
                int c = getState();
                // 如果同步状态的值已经是0了,不要再释放同步状态了,也不要减1了
                if (c == 0)
                    return false;
                // 减1
                int nextc = c - 1;
                if (compareAndSetState(c, nextc))
                    return nextc == 0;
            }
        }
    }
4.2 await() 源码解析
await()源码如下:
    public void await() throws InterruptedException {
        sync.acquireSharedInterruptibly(1);
    }
调用的是AQS的acquireSharedInterruptibly(int arg)方法:
    public final void acquireSharedInterruptibly(int arg)
            throws InterruptedException {
        // 如果被中断,抛出异常
        if (Thread.interrupted())
            throw new InterruptedException();
        // 尝试获取同步状态
        if (tryAcquireShared(arg) < 0)
            // 获取同步状态失败,自旋
            doAcquireSharedInterruptibly(arg);
    }
首先,通过tryAcquireShared(arg)尝试获取同步状态,具体的实现被Sync重写了,查看源码:
    protected int tryAcquireShared(int acquires) {
        return (getState() == 0) ? 1 : -1;
    }
如果同步状态的值为0,获取成功。这就是CountDownLatch的机制,尝试获取latch的线程只有当latch的值减到0的时候,才能获取成功。
如果获取失败,则会调用AQS的doAcquireSharedInterruptibly(int arg)函数自旋,尝试挂起当前线程:
    private void doAcquireSharedInterruptibly(int arg)
        throws InterruptedException {
        // 将当前线程加入同步队列的尾部
        final Node node = addWaiter(Node.SHARED);
        try {
            // 自旋
            for (;;) {
                // 获取当前节点的前驱节点
                final Node p = node.predecessor();
                // 如果前驱节点是头结点,则尝试获取同步状态
                if (p == head) {
                    // 当前节点尝试获取同步状态
                    int r = tryAcquireShared(arg);
                    if (r >= 0) {
                        // 如果获取成功,则设置当前节点为头结点
                        setHeadAndPropagate(node, r);
                        p.next = null; // help GC
                        return;
                    }
                }
                // 如果当前节点的前驱不是头结点,尝试挂起当前线程
                if (shouldParkAfterFailedAcquire(p, node) &&
                    parkAndCheckInterrupt())
                    throw new InterruptedException();
            }
        } catch (Throwable t) {
            cancelAcquire(node);
            throw t;
        }
    }
这里,调用shouldParkAfterFailedAcquire(p,node) && parkAndCheckInterrupt() 挂起当前线程。
4.3 countDown() 源码解析
countDown()源码如下:
    public void countDown() {
        sync.releaseShared(1);
    }
调用的是AQS的releaseShared(int arg)方法:
    public final boolean releaseShared(int arg) {
        // 尝试释放同步状态
        if (tryReleaseShared(arg)) {
            // 如果成功,进入自旋,尝试唤醒同步队列中头结点的后继节点
            doReleaseShared();
            return true;
        }
        return false;
    }
首先,通过tryReleaseShared(arg)尝试释放同步状态,具体的实现被Sync重写了,源码:
    protected boolean tryReleaseShared(int releases) {
        // Decrement count; signal when transition to zero
        for (;;) {
            int c = getState();
            if (c == 0)
                return false;
            // 同步状态值减1
            int nextc = c - 1;
            if (compareAndSetState(c, nextc))
                return nextc == 0;
        }
    }
如果同步状态值减到0,则释放成功,进入自旋,尝试唤醒同步队列中头结点的后继节点,调用的是AQS的doReleaseShared()函数:
    private void doReleaseShared() {
        for (;;) {
            // 获取头结点
            Node h = head;
            if (h != null && h != tail) {
                // 获取头结点的状态
                int ws = h.waitStatus;
                // 如果是SIGNAL,尝试唤醒后继节点
                if (ws == Node.SIGNAL) {
                    if (!h.compareAndSetWaitStatus(Node.SIGNAL, 0))
                        continue;            // loop to recheck cases
                    // 唤醒头结点的后继节点
                    unparkSuccessor(h);
                }
                else if (ws == 0 &&
                         !h.compareAndSetWaitStatus(0, Node.PROPAGATE))
                    continue;                // loop on failed CAS
            }
            if (h == head)                   // loop if head changed
                break;
        }
    }
这里调用了unparkSuccessor(h)去唤醒头结点的后继节点。
4.3 如何唤醒所有调用 await() 等待的线程呢?
此时这个后继节点被唤醒,那么又是如何实现唤醒所有调用await()等待的线程呢?
回到线程被挂起的地方,也就是doAcquireSharedInterruptibly(int arg)方法中:
    private void doAcquireSharedInterruptibly(int arg)
        throws InterruptedException {
        // 将当前线程加入同步队列的尾部
        final Node node = addWaiter(Node.SHARED);
        try {
            // 自旋
            for (;;) {
                // 获取当前节点的前驱节点
                final Node p = node.predecessor();
                // 如果前驱节点是头结点,则尝试获取同步状态
                if (p == head) {
                    // 当前节点尝试获取同步状态
                    int r = tryAcquireShared(arg);
                    if (r >= 0) {
                        // 如果获取成功,则设置当前节点为头结点
                        setHeadAndPropagate(node, node) &&
                    parkAndCheckInterrupt())
                    throw new InterruptedException();
            }
        } catch (Throwable t) {
            cancelAcquire(node);
            throw t;
        }
    }
该方法里面,通过调用shouldParkAfterFailedAcquire(p,node) && parkAndCheckInterrupt()将线程挂起。
当头结点的后继节点被唤醒后,线程将从挂起的地方醒来,继续执行,因为没有return,所以进入下一次循环。
此时,获取同步状态成功,执行setHeadAndPropagate(node,r)。
查看源码:
    // 如果执行这个函数,那么propagate一定等于1
    private void setHeadAndPropagate(Node node, int propagate) {
        // 获取头结点
        Node h = head;
        // 因为当前节点被唤醒,设置当前节点为头结点
        setHead(node);
        if (propagate > 0 || h == null || h.waitStatus < 0 ||
            (h = head) == null || h.waitStatus < 0) {
            // 获取当前节点的下一个节点
            Node s = node.next;
            // 如果下一个节点为null或者节点为shared节点
            if (s == null || s.isShared())
                doReleaseShared();
        }
    }
这里,当前节点被唤醒,首先设置当前节点为头结点。
如果当前节点的下一个节点是shared节点,调用doReleaseShared(),源码:
    private void doReleaseShared() {
        // 自旋
        for (;;) {
            // 获取头结点,也就是当前节点
            Node h = head;
            if (h != null && h != tail) {
                int ws = h.waitStatus;
                if (ws == Node.SIGNAL) {
                    if (!h.compareAndSetWaitStatus(Node.SIGNAL, 0))
                        continue;            // loop to recheck cases
                    unparkSuccessor(h);
                }
                else if (ws == 0 &&
                         !h.compareAndSetWaitStatus(0, Node.PROPAGATE))
                    continue;                // loop on failed CAS
            }
            // 如果head没有改变,则调用break退出循环
            if (h == head)
                break;
        }
    }
参考:https://blog.csdn.net/anlian523/article/details/106319538/
首先,注意if (h == head) break; 这里每次循环的时候判断head头结点有没有改变,如果没有改变则退出循环。因为只有当新的节点被唤醒之后,新节点才会调用setHead(node)设置自己为头结点,头结点才会改变。
其次,注意if (h != null && h != tail) 这个判断,保证队列至少要有两个节点(包括头结点在内)。
如果队列中有两个或以上个节点,那么检查局部变量h的状态:
- 如果状态为
SIGNAL,说明h的后继节点是需要被通知的。通过对CAS操作结果取反,将compareAndSetWaitStatus(h,Node.SIGNAL,0)和unparkSuccessor(h)绑定在了一起。说明了只要head成功的从SIGNAL修改为0,那么head的后继节点对应的线程将会被唤醒。 - 如果状态为
0,说明h的后继节点对应的线程已经被唤醒或即将被唤醒,并且这个中间状态即将消失,要么由于acquire thread获取锁失败再次设置head为SIGNAL并再次阻塞,要么由于acquire thread获取锁成功而将自己(head后继)设置为新head并且只要head后继不是队尾,那么新head肯定为SIGNAL。所以设置这种中间状态的head的status为PROPAGATE,让其status又变成负数,这样可能被被唤醒线程检测到。 - 如果状态为
PROPAGATE,直接判断head是否变化。
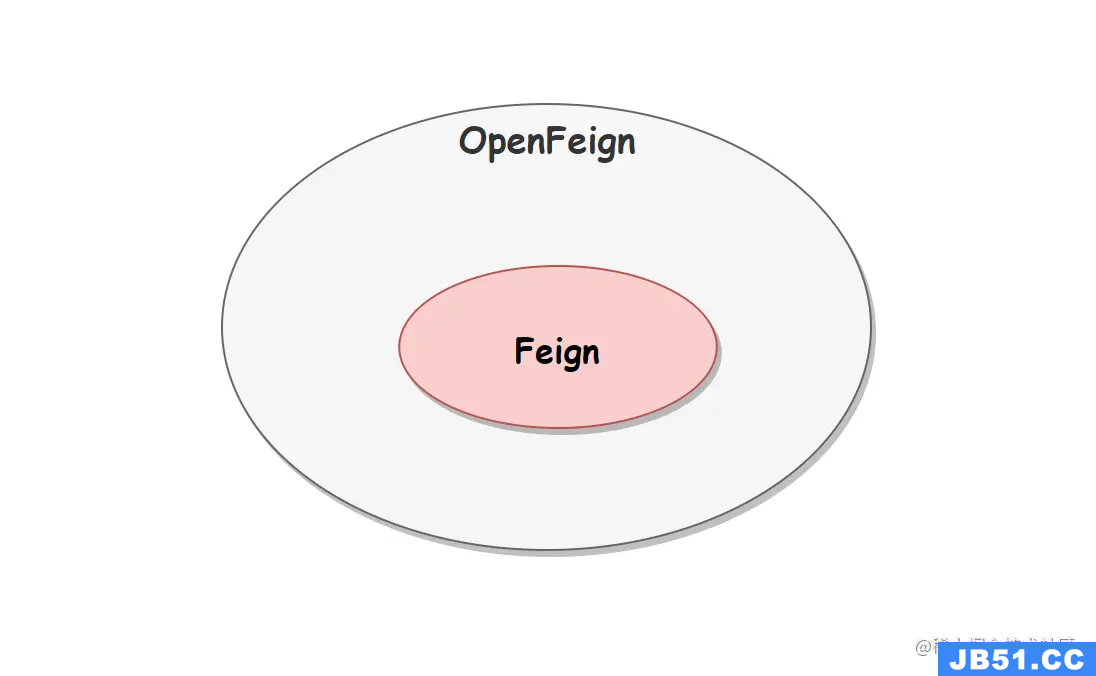 可以认为OpenFeign是Feign的增强版,不同的是OpenFeign支持S...
 为进一步规范小程序交易生态、提升用户购物体验、满足用户在...
 云原生之使用Docker部署Dashdot服务器仪表盘
 本文主要描述TensorFlow之回归模型的基本原理
 1.漏洞描述Apache Druid 是一个集时间序列数据库、数据仓库和...