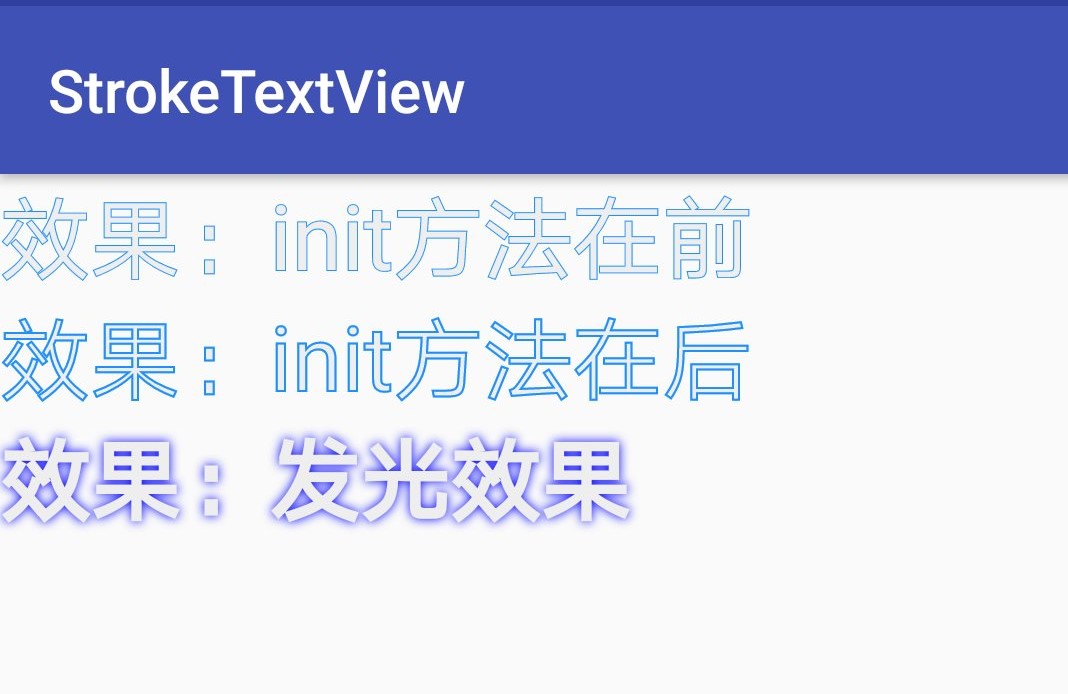
首先我们上图:

xml的代码如下,用于编写按钮:
<?xml version="1.0" encoding="utf-8"?>
<LinearLayout xmlns:android="http://schemas.android.com/apk/res/android"
android:layout_width="match_parent"
android:layout_height="match_parent"
android:background="@drawable/background"
xmlns:widget="http://schemas.android.com/apk/res-auto"
android:orientation="vertical">
  <Button
    android:id="@+id/button_1"
    android:layout_width="match_parent"
    android:layout_height="wrap_content"
    android:text="简单的dialog"
    />
  <Button
    android:id="@+id/button_2"
    android:layout_width="match_parent"
    android:layout_height="wrap_content"
    android:text="列表的dialog"
    />
  <Button
    android:id="@+id/button_3"
    android:layout_width="match_parent"
    android:layout_height="wrap_content"
    android:text="单选的dialog"
    />
  <Button
    android:id="@+id/button_4"
    android:layout_width="match_parent"
    android:layout_height="wrap_content"
    android:text="多选的dialog"
    />
</LinearLayout>
Java代码如下,用于实现逻辑:
import androidx.appcompat.app.ActionBar;
import androidx.appcompat.app.AlertDialog;
import androidx.appcompat.app.AppCompatActivity;
import android.content.DialogInterface;
import android.os.Bundle;
import android.view.View;
import android.widget.Button;
import android.widget.Toast;
public class MainActivity extends AppCompatActivity{
  int index;
  String [] item = {"Android","IOS","Spark","Hadoop","Web"};
  boolean[] bools = {false,false,false};
  // 设置boolean数组所有的选项设置默认没选
  @Override
  protected void onCreate(Bundle savedInstanceState) {
    super.onCreate(savedInstanceState);
    setContentView(R.layout.activity_main);
    ActionBar actionBar = getSupportActionBar();
    if (actionBar != null) {
      actionBar.hide();
    }
    Button button=(Button)findViewById(R.id.button_1);
    button.setonClickListener(new View.OnClickListener() {
      @Override
      public void onClick(View view) {
        AlertDialog.Builder builder = new AlertDialog.Builder(MainActivity.this);
        builder.setIcon(R.drawable.girl);
        builder.setTitle("标题栏");
        builder.setMessage("对话框内容,可自行设置");
        builder.setPositiveButton("确定",new DialogInterface.OnClickListener() {
          @Override
          public void onClick(DialogInterface dialog,int which) {
            Toast.makeText(MainActivity.this,"点击了确定",Toast.LENGTH_SHORT).show();
          }
        });
        builder.setNegativeButton("取消",new DialogInterface.OnClickListener() {
          @Override
          public void onClick(DialogInterface dialogInterface,int i) {
            Toast.makeText(MainActivity.this,"点击了取消",Toast.LENGTH_SHORT).show();
          }
        });
        builder.setNeutralButton("好的","点击了“好的”",Toast.LENGTH_SHORT).show();
          }
        });
        AlertDialog alertDialog = builder.create();
        alertDialog.show();
      }
    });
    Button button2=(Button)findViewById(R.id.button_2);
    button2.setonClickListener(new View.OnClickListener() {
      @Override
      public void onClick(View view) {
        AlertDialog.Builder builder = new AlertDialog.Builder(MainActivity.this);
        builder.setTitle("请选择一个技术分支");
        builder.setItems(item,"选择了"+item[which],Toast.LENGTH_SHORT).show();
          }
        });
        // 取消可以不添加
        //builder.setNegativeButton("取消",null);
        AlertDialog alertDialog = builder.create();
        alertDialog.show();
      }
    });
    Button button3=(Button)findViewById(R.id.button_3);
    button3.setonClickListener(new View.OnClickListener() {
      @Override
      public void onClick(View view) {
        AlertDialog.Builder builder = new AlertDialog.Builder(MainActivity.this);
        builder.setTitle("请选择技术分支:");
        builder.setSingleChoiceItems(item,index,int which) {
            index = which;
          }
        });
        builder.setPositiveButton("确定","选择了"+item[index],null);
        AlertDialog alertDialog = builder.create();
        alertDialog.show();
      }
    });
    Button button4=(Button)findViewById(R.id.button_4);
    button4.setonClickListener(new View.OnClickListener() {
      @Override
      public void onClick(View view) {
        AlertDialog.Builder builder = new AlertDialog.Builder(MainActivity.this);
        builder.setTitle("请选择技术分支:");
        builder.setMultiChoiceItems(item,bools,new DialogInterface.OnMultiChoiceClickListener() {
          @Override
          public void onClick(DialogInterface dialog,int which,boolean isChecked) {
            bools[which] = isChecked;
          }
        });
        builder.setPositiveButton("确定",int which) {
            StringBuffer sb = new StringBuffer();
            for (int i = 0; i < item.length; i++) {
              if (bools[i]) {
                sb.append(item[i] + " ");
              }
            }
            Toast.makeText(MainActivity.this,"选择了" + sb.toString(),null);
        AlertDialog alertDialog = builder.create();
        alertDialog.show();
      }
    });
  }
}
总结
以上所述是小编给大家介绍的Android中AlertDialog四种对话框的最科学编写用法,希望对大家有所帮助,如果大家有任何疑问请给我留言,小编会及时回复大家的。在此也非常感谢大家对我们网站的支持!
如果你觉得本文对你有帮助,欢迎转载,烦请注明出处,谢谢!


