属性
1、为ImageView设置图片
①android:src="@drawable/img1";
②android:background="@drawable/img1"
background是组件通用属性,不仅可以设置组件的背景颜色,也可以用图片做背景。
②但如果控件是宽高为wrap_content,则和src的效果相同。
③如果src和background属性同时设置,src设置的图片将在上方,background设置的图片将在上方。src图片不一定完全遮盖下面的图片,根据src的放缩模式而定。
④资源文件名称由小写字母、数字、下划线组成。(注意:不能用大写字母)
③案例
【准备】对应的图片资源可以放再 res/drawable文件夹下,这是两张图片没有进行任何缩放的效果

【代码】
<?xml version="1.0" encoding="utf-8"?>
<android.support.constraint.ConstraintLayout xmlns:android="http://schemas.android.com/apk/res/android"
xmlns:app="http://schemas.android.com/apk/res-auto"
xmlns:tools="http://schemas.android.com/tools"
android:layout_width="match_parent"
android:layout_height="match_parent"
tools:context=".MainActivity"
android:background="#ccc">
<ImageView
android:id="@+id/iv"
android:layout_width="200dp"
android:layout_height="300dp"
android:background="@drawable/img1" />
<ImageView
android:id="@+id/iv2"
android:layout_width="300dp"
android:layout_height="200dp"
android:layout_marginBottom="8dp"
android:layout_marginEnd="8dp"
android:background="@drawable/img2"
app:layout_constraintBottom_toBottomOf="parent"
app:layout_constraintEnd_toEndOf="parent" />
</android.support.constraint.ConstraintLayout>
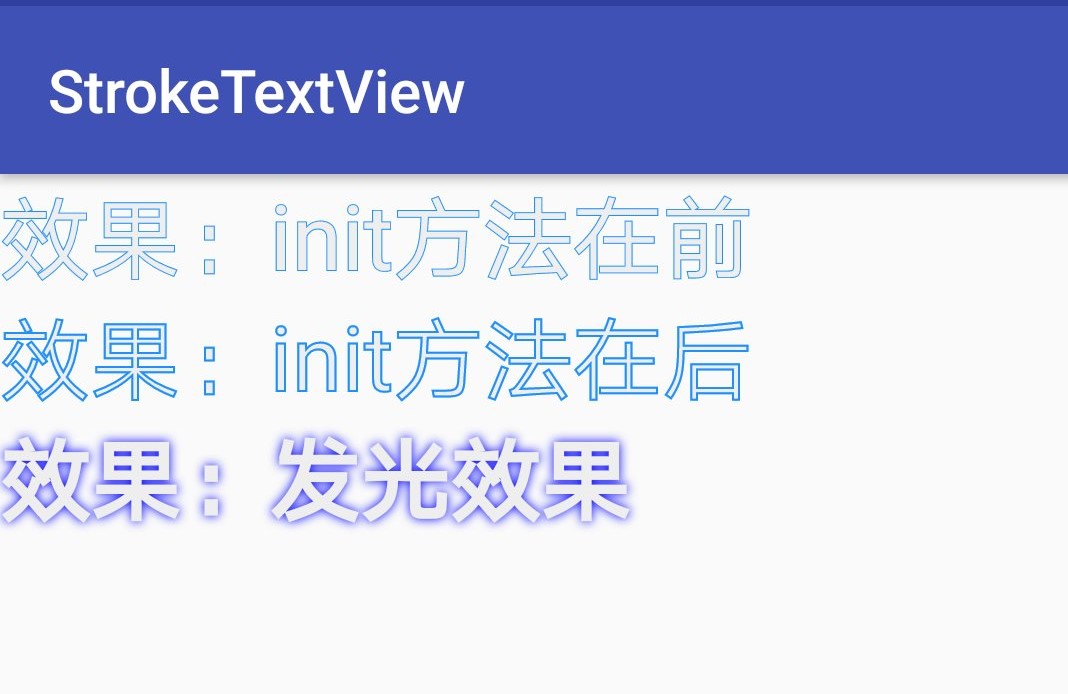
效果

2、放缩属性ScaleType
android:scaleType="????"

<?xml version="1.0" encoding="utf-8"?>
<android.support.constraint.ConstraintLayout xmlns:android="http://schemas.android.com/apk/res/android"
xmlns:app="http://schemas.android.com/apk/res-auto"
xmlns:tools="http://schemas.android.com/tools"
android:layout_width="match_parent"
android:layout_height="match_parent"
tools:context=".MainActivity"
android:background="#ccc">
<ImageView
android:id="@+id/iv"
android:layout_width="360dp"
android:layout_height="500dp"
android:src="@drawable/img1"
android:background="#f00"
android:scaleType="fitCenter"/>
</android.support.constraint.ConstraintLayout>
①fixCenter:这是图片默认的属性值,表示会填充控件,不会让图片变形

②fixXY:表示图片填充控件,允许图片拉伸,会根据ImageView的大小而适配。和background的效果相同。

③centerCrop:以填满整个ImageView为目的,将ImageView的中心对准ImageView的中心,等比例放大原图,直到填满ImageView为止(ImageView的宽高都要填满),原图超出部分做裁剪处理。

④center:保持原图大小,显示在ImageView的中心。当原图大小小于ImageView大小时,旁边部分将空白,如左图。反之,原图将将做裁剪处理,如右图(这里将ImageView的大小修改成比原图小的值)


⑤matrix:不改变原图的大小,从ImageView的左上角开始绘制原图。原图超过部分将作裁剪。
【提示】用Matrix对ImageView作放大和缩小的效果是,ImageView的ScaleType必须设置为matrix

⑥fitEnd:把原图按比例放缩到ImageView的宽度,显示在下方的位置。左图
⑦fitStart:把原图按比例放缩到ImageView的宽度,显示在上方的位置。右图


⑧centerInside:以原图完全显示为目的,将图片的内容完整居中显示,通过按比例缩小的原图宽高等于或者小于ImageView的宽高。如果原图小于ImageView的宽高,则原图不做处理,居中显示在ImageView上(如左图)。反之,和fixCenter效果相同。以短的一边为基准等比例放缩图片,完整的显示在ImageView的中间(如右图)。